Linking Sendcloud to ShopLinkr
Log in to your Sendcloud account.
Click on the gear icon in the upper right corner to open “Settings”, then click on “Integrations”.
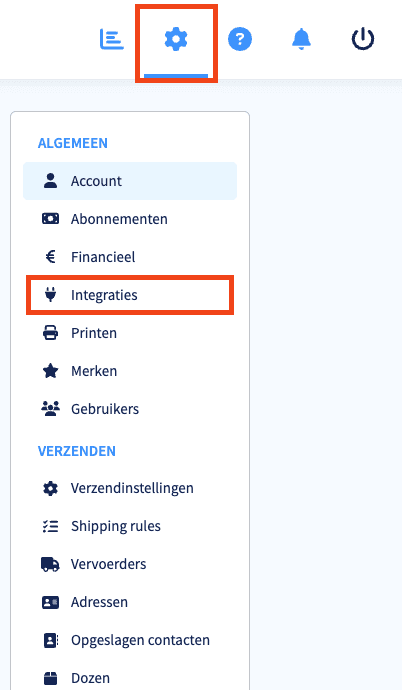
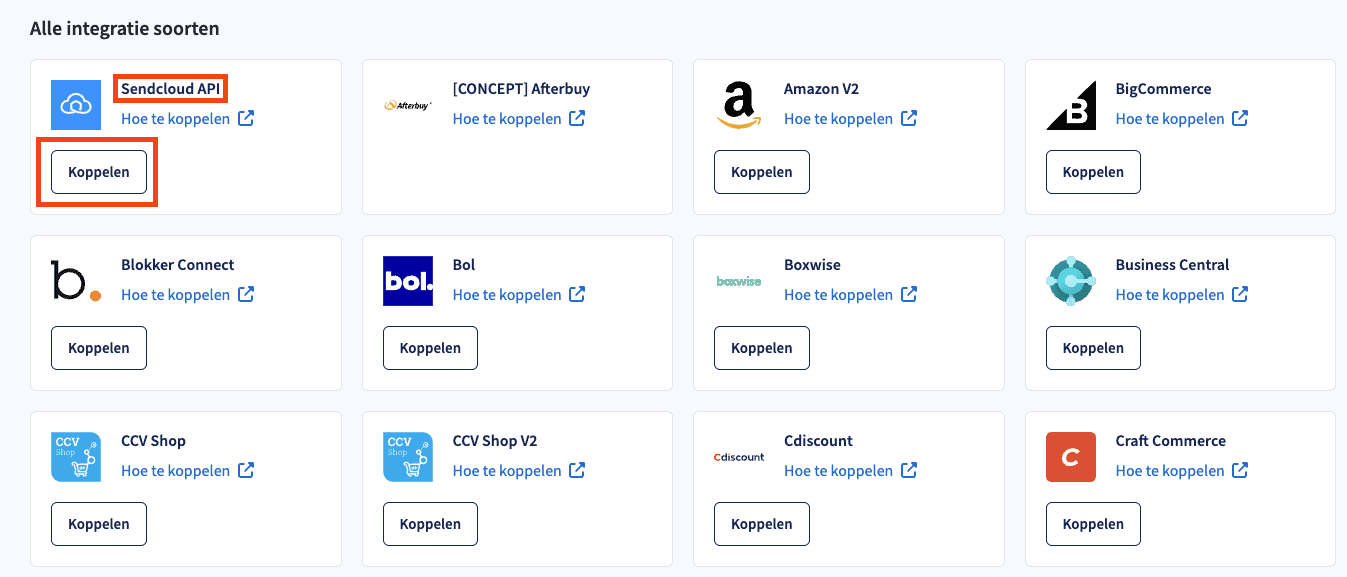
Find the link “Sendcloud API” and click on “Connect”.
Enter “ShopLinkr” for the name and click on “Save”.
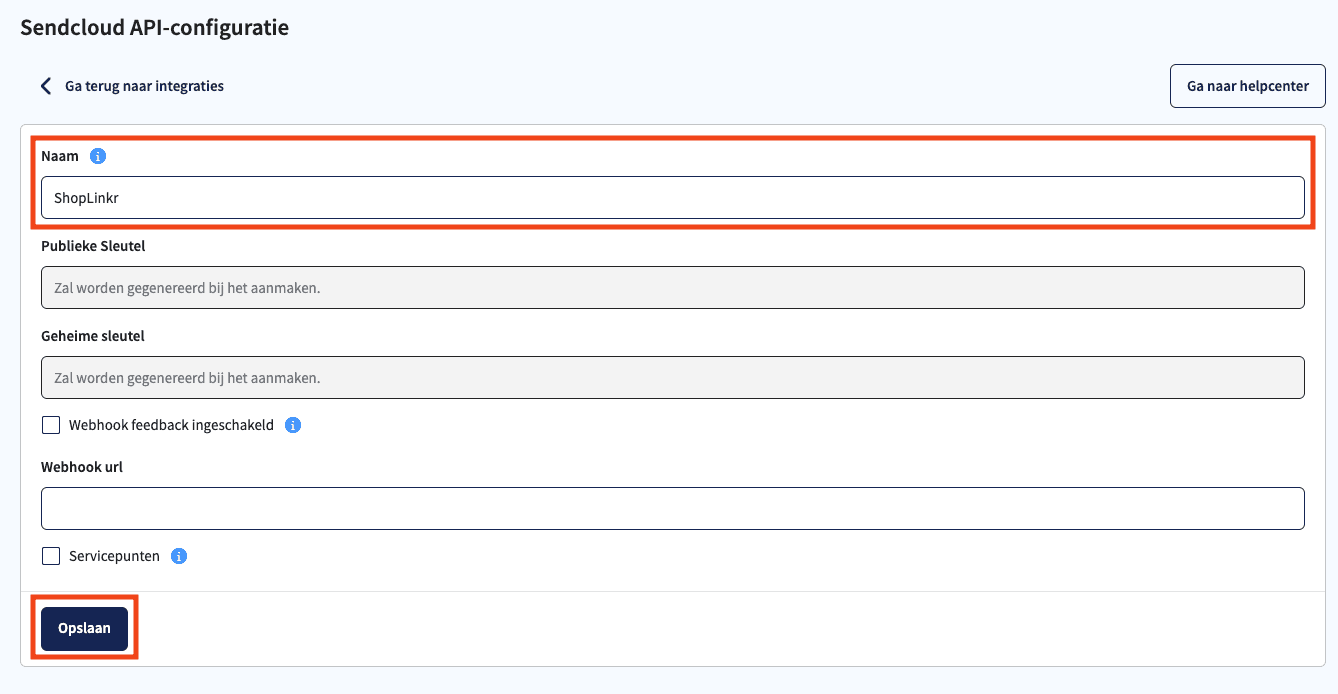
You will now receive 2 keys: a “public key” (the 1st) and a “secret key” (the 2nd), keep these handy.
Then, go to “Settings" —> "Carriers” in ShopLinkr and click on “Connect carrier”.
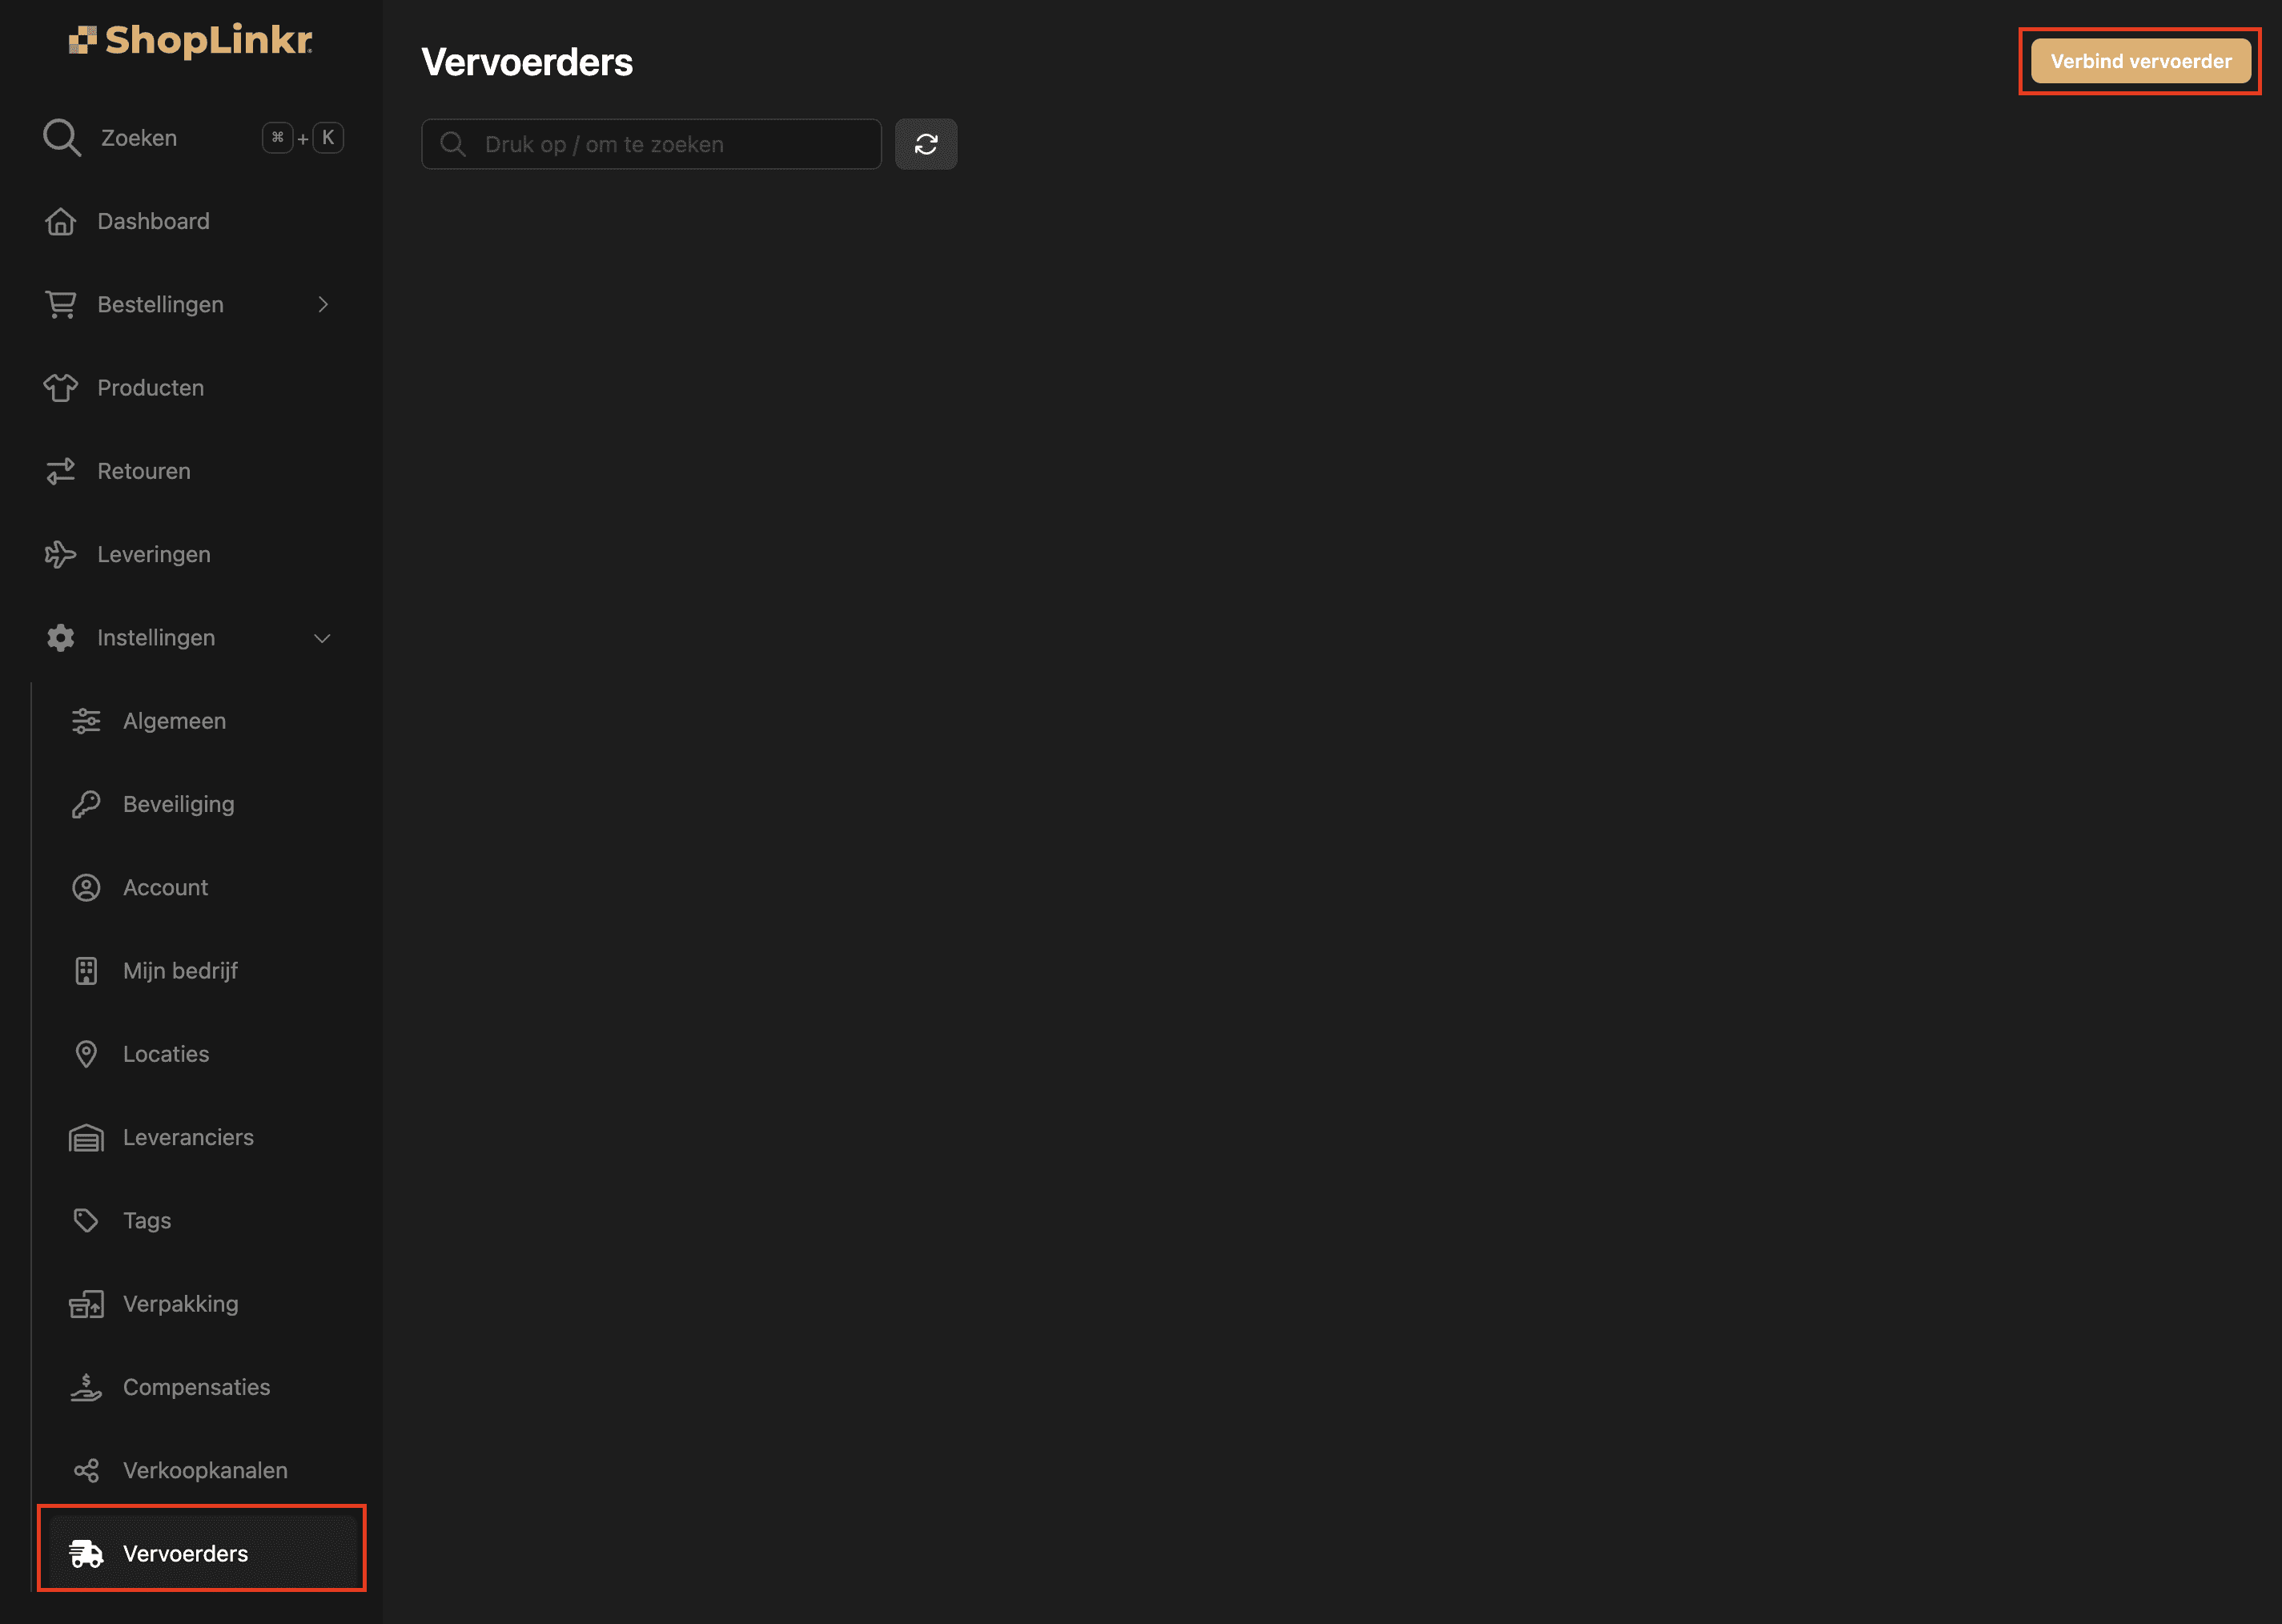
Select “Sendcloud” as the type.
Then enter the “public key” and the “secret key” that you received and had to keep from steps 4 & 5, make sure you do not enter any spaces or returns!
Click on “Connect”.
The delivery options for all pending orders will be retrieved again, this may take a few minutes.
From this moment on, ShopLinkr is the only place where you need to create your shipping labels.