Connect Sendy to ShopLinkr
Log in to your Sendy account.
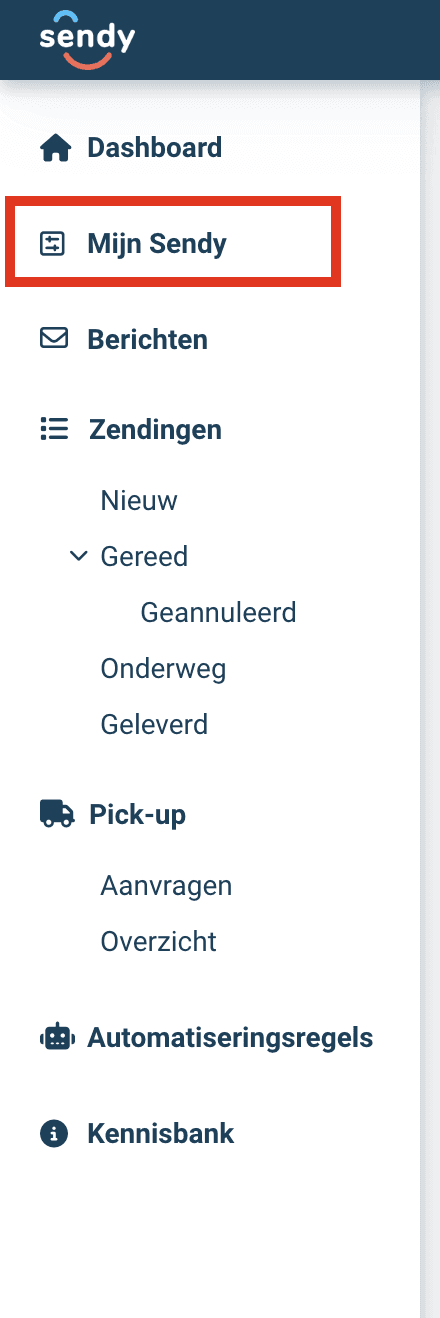
Click on "My Sendy" in the top left.
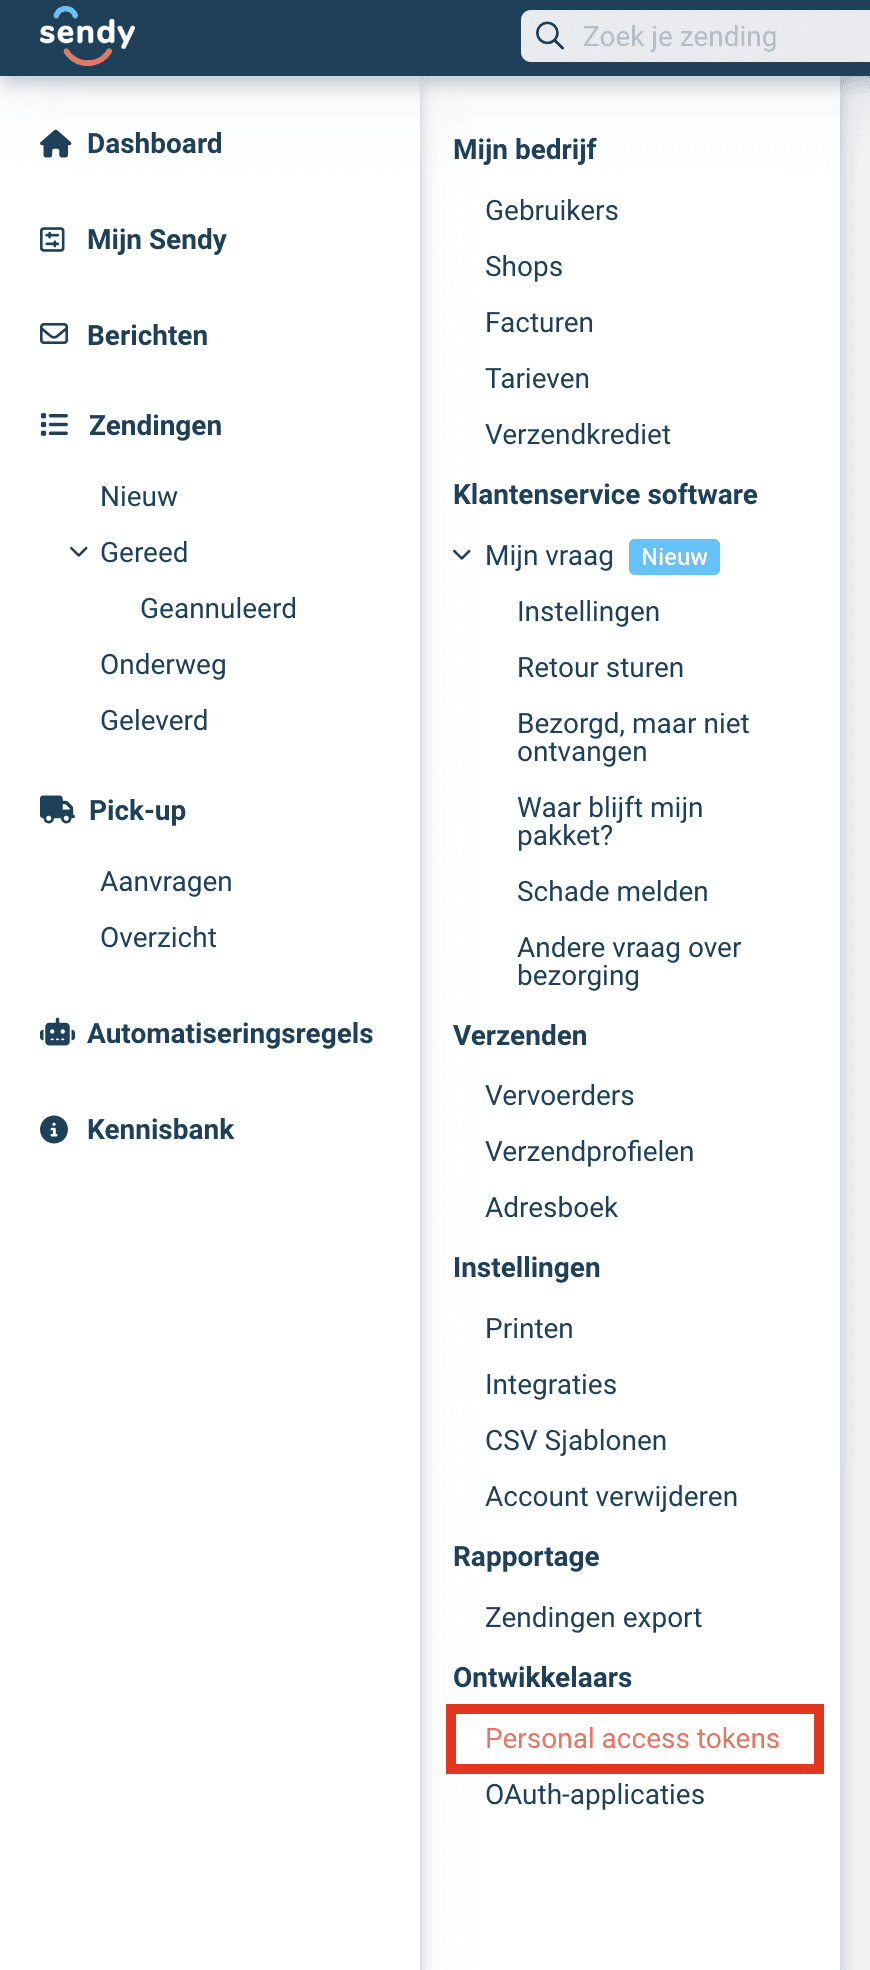
Then click on "Personal access tokens".
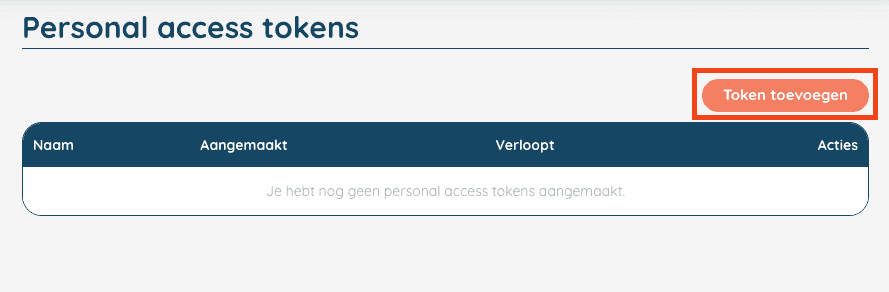
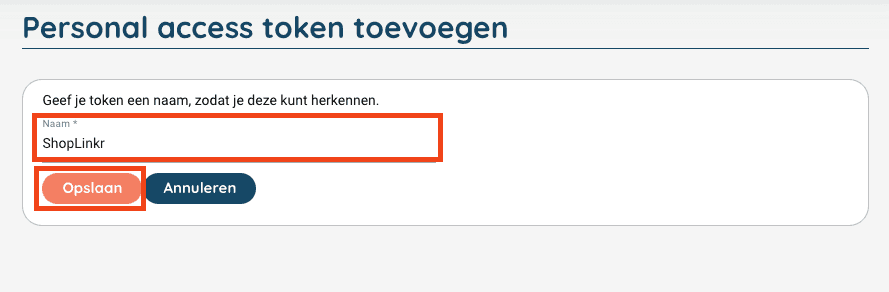
Click on "Add token".
Now enter a name, for example "ShopLinkr" and click on "Save".
You will now receive your "Personal access token", keep this handy.
Then go to “Settings" —> "Carriers” in ShopLinkr and click on "Connect carrier".
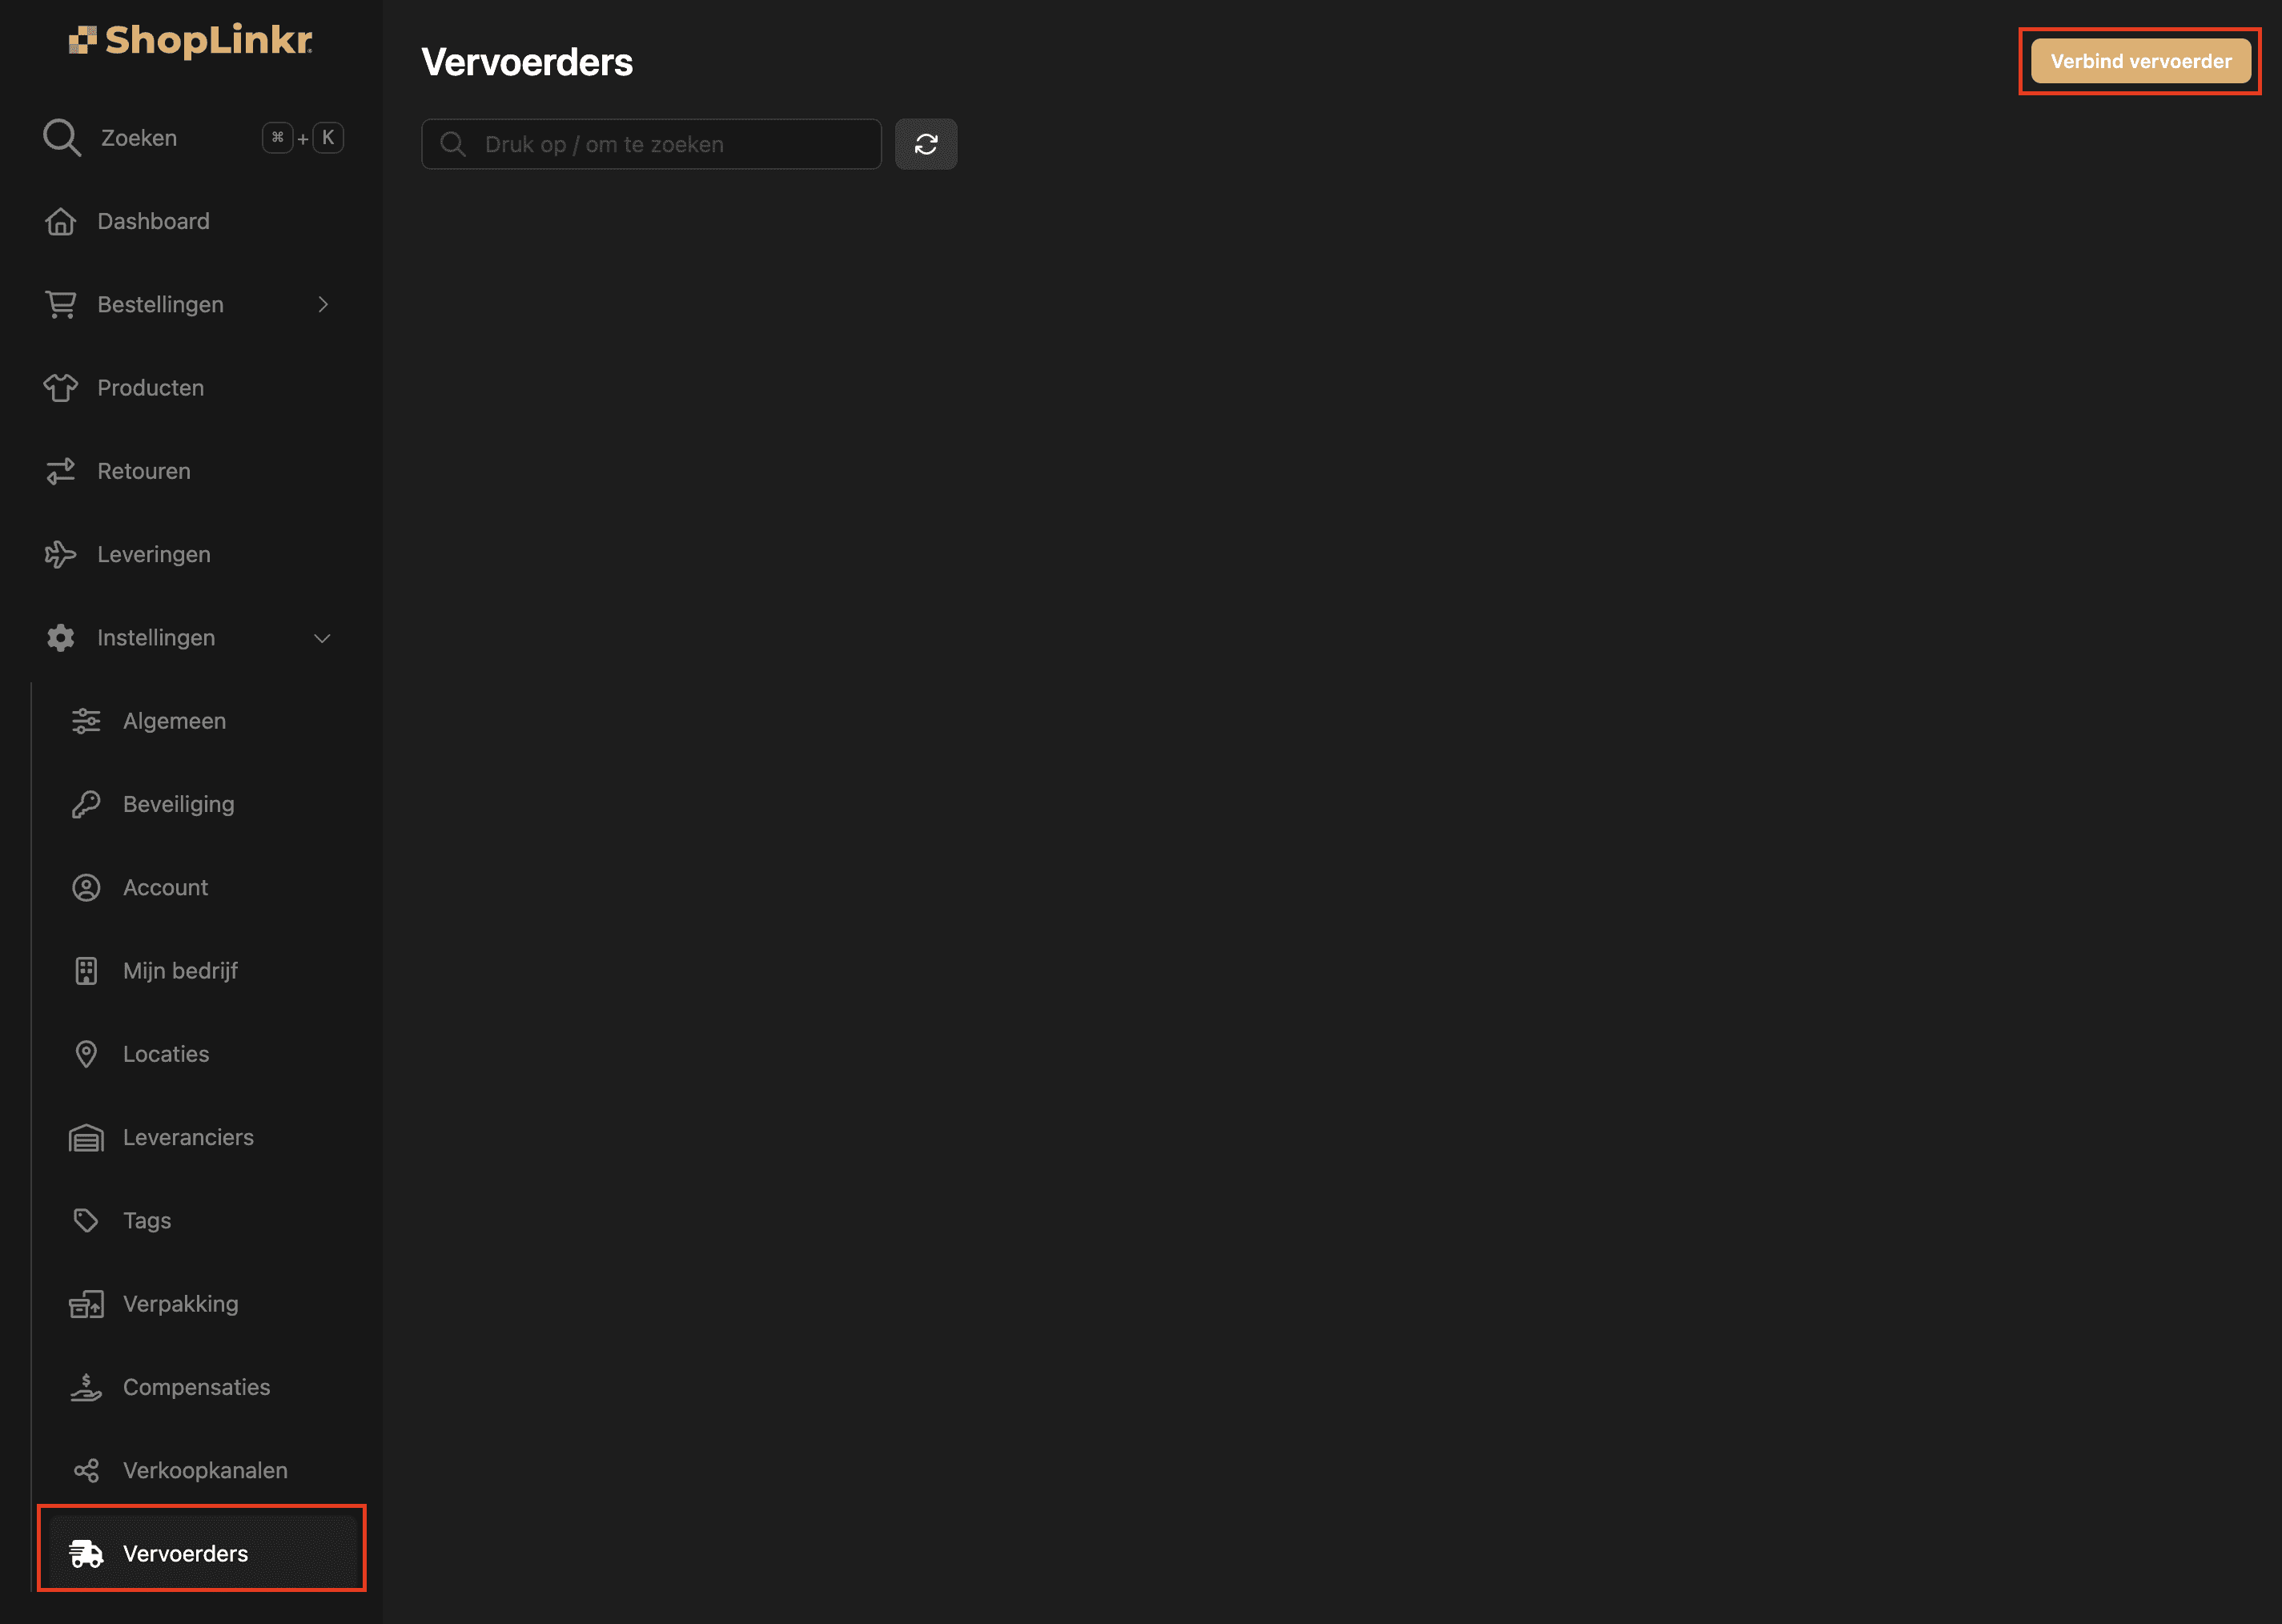
Select "Sendy" as the type.
Then enter the "Personal access token" that you obtained in steps 5 & 6 and had to save.
Then select your "shop".
Click on "Connect".
The delivery options for all open orders will be fetched again, this may take a few minutes.
From this moment on, ShopLinkr is the only place where you need to create your shipping labels.