Before you connect Shopify
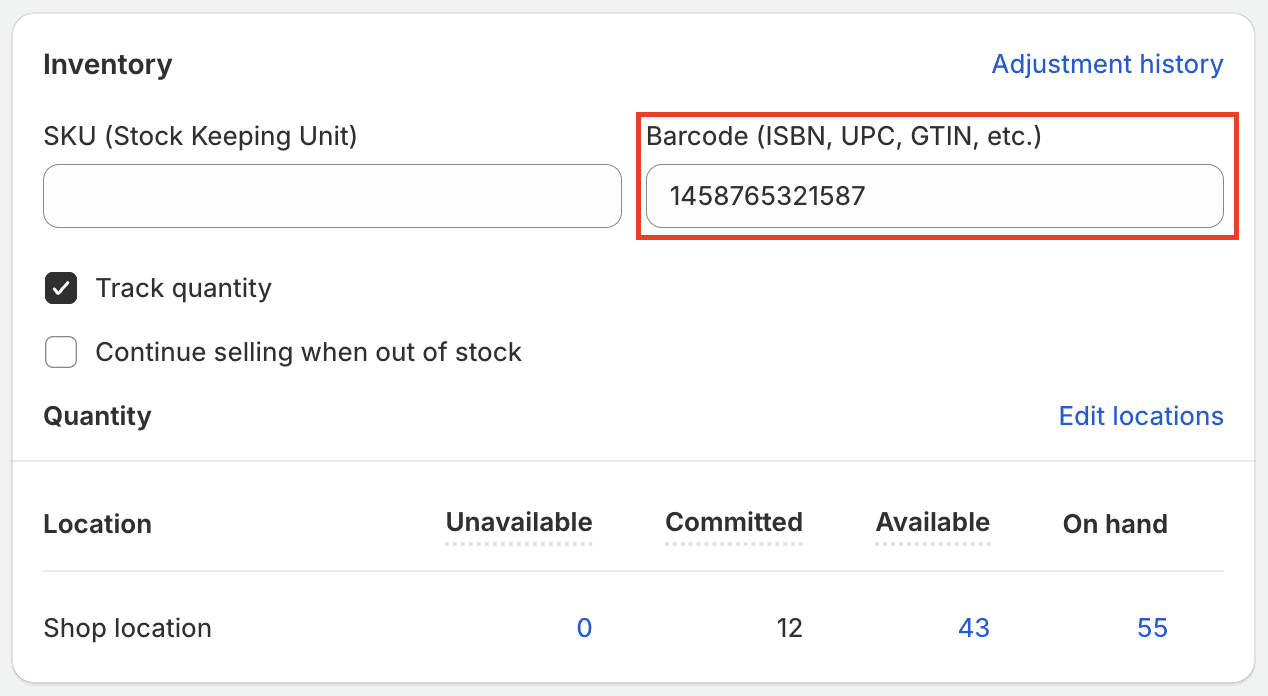
To import all products from your Shopify webshop, each product must have an EAN code, which must be filled in the 'Barcode' field.
Connecting Shopify to ShopLinkr
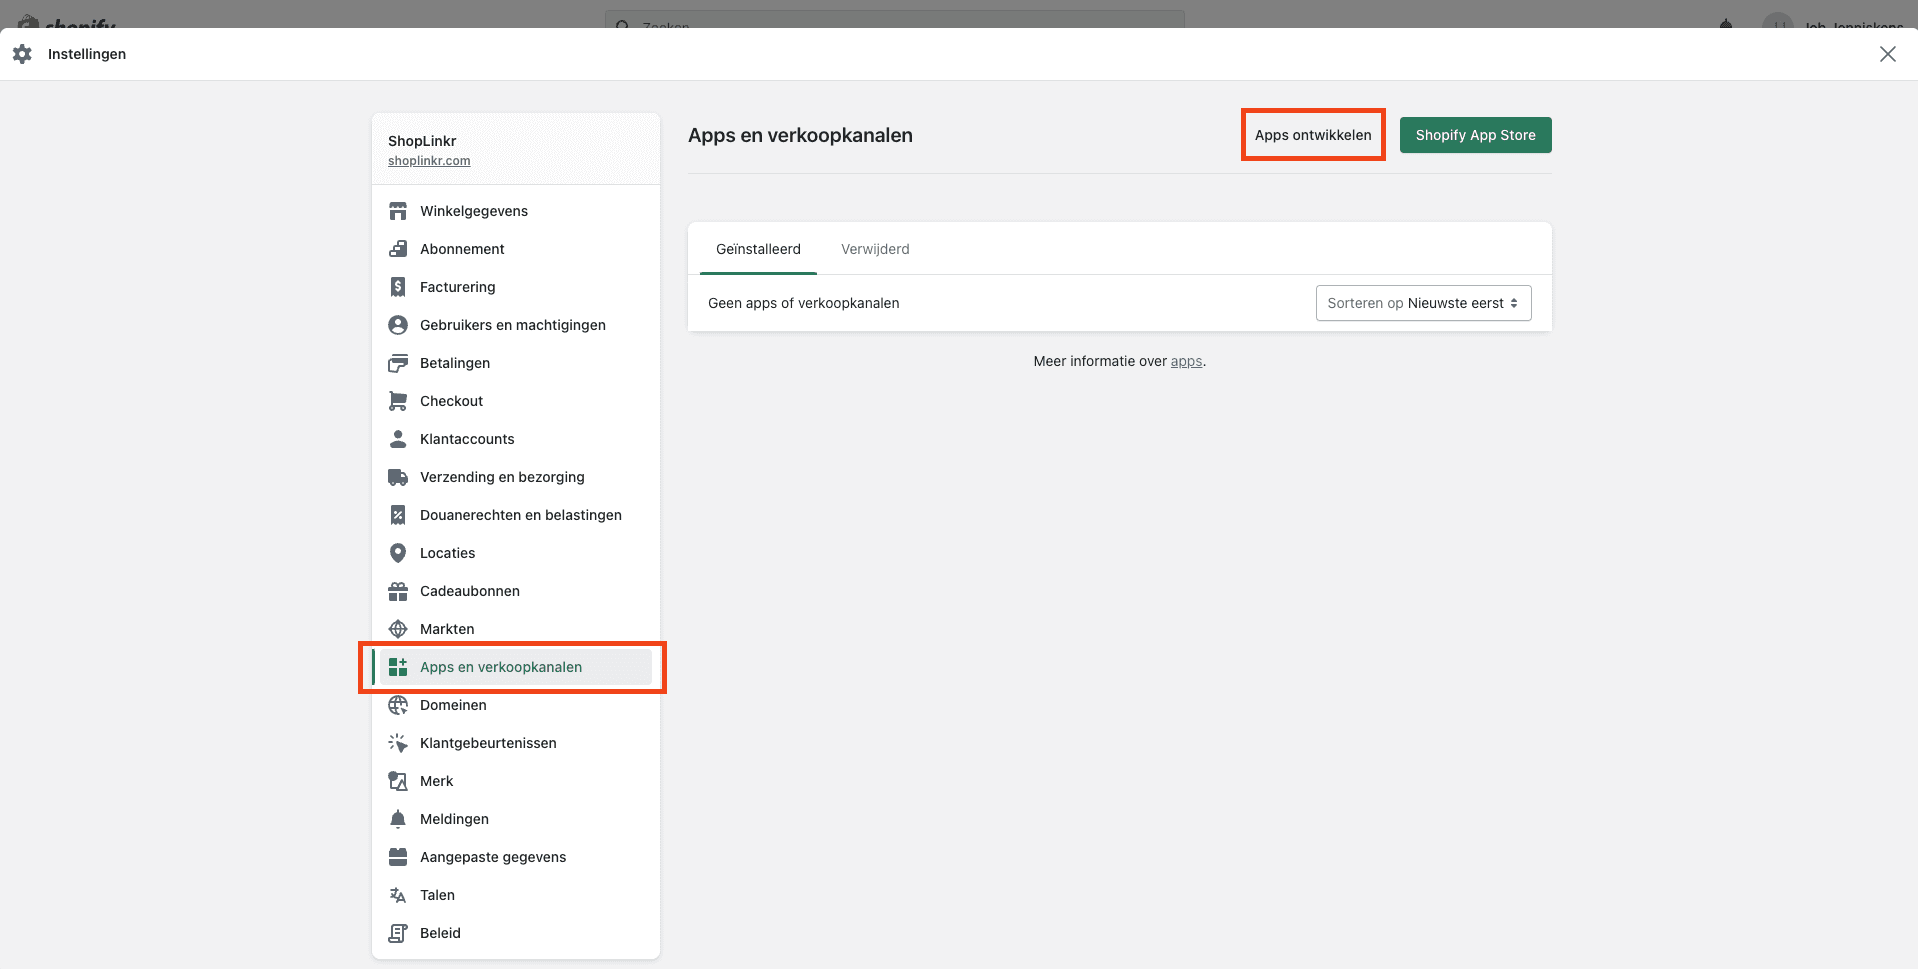
Log in to your Shopify account and go to “Settings”.
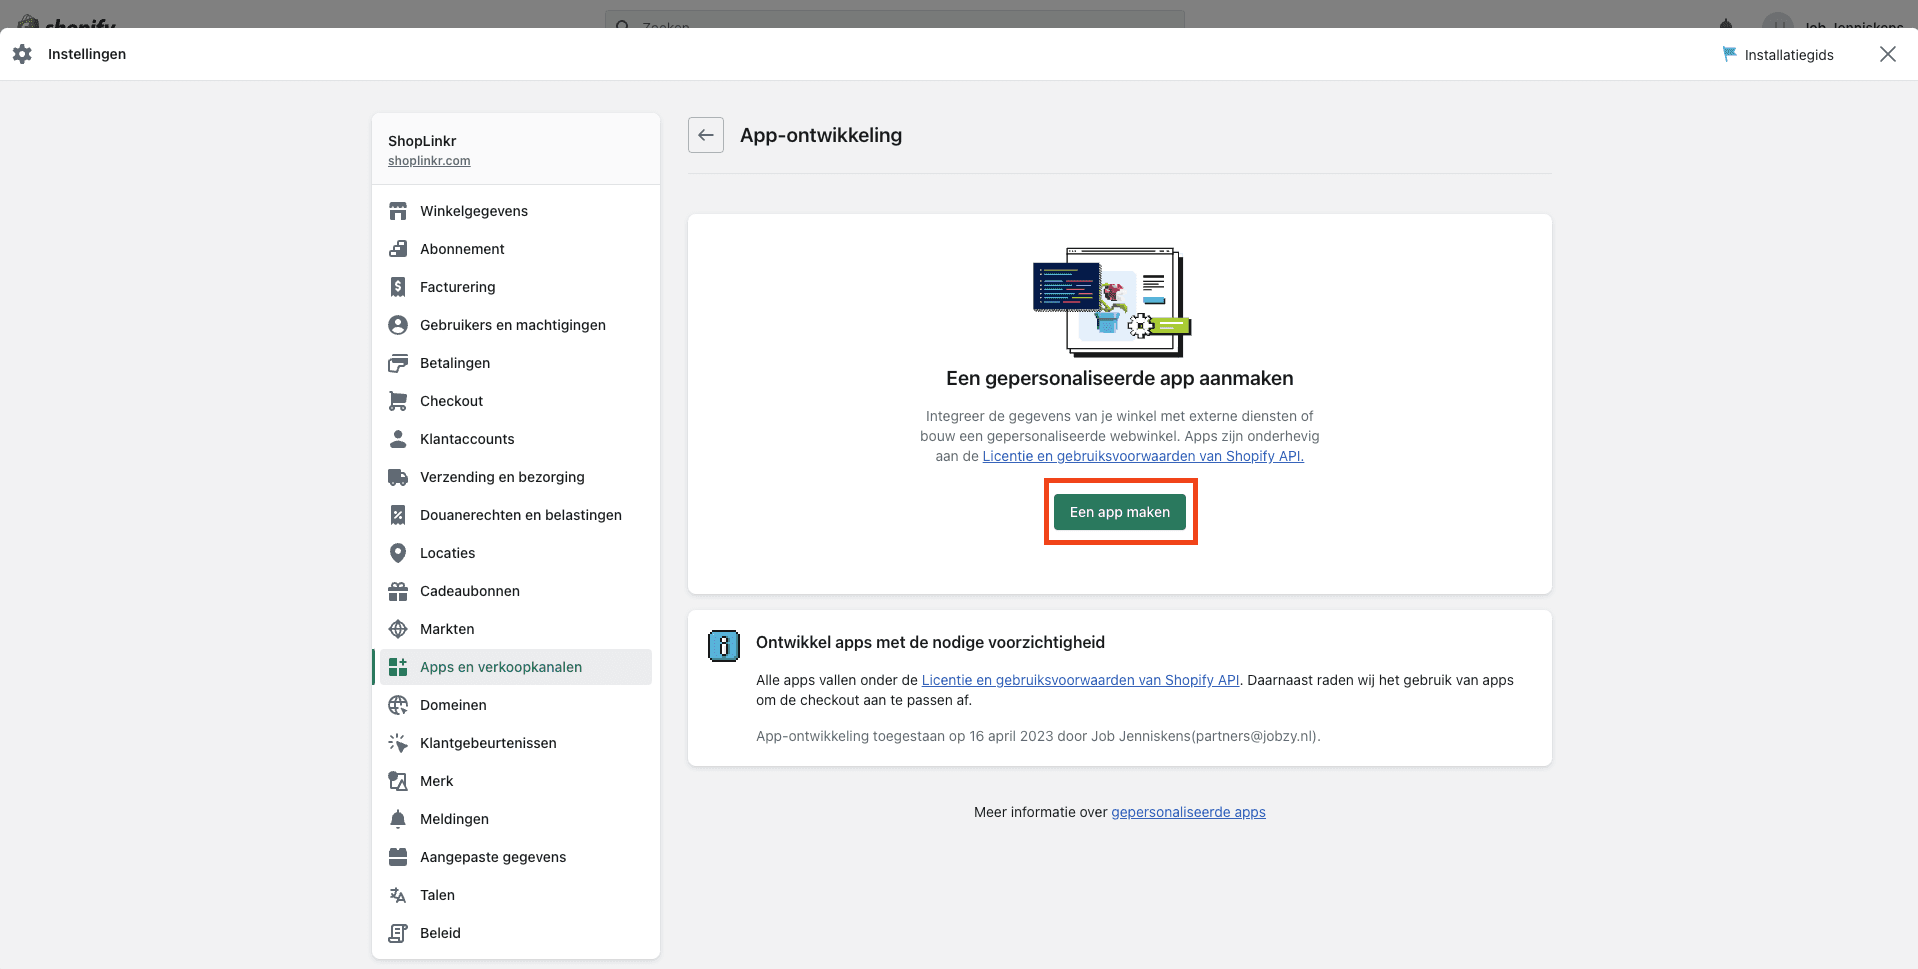
Click on “Apps and Sales Channels” and then on “Develop Apps”.
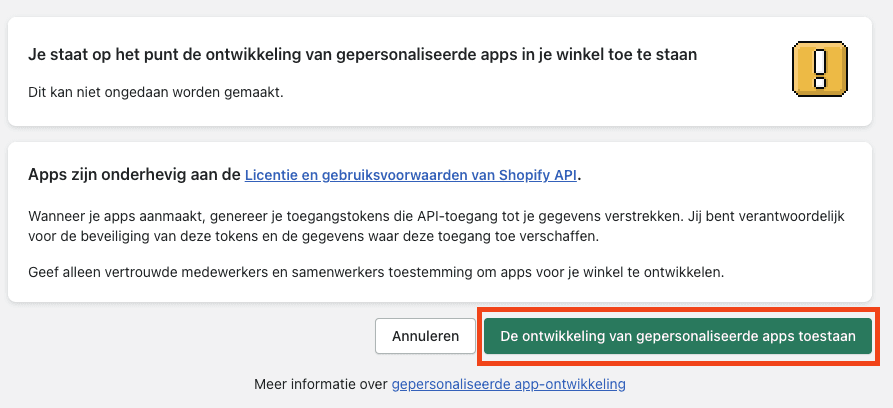
Click on “Allow Custom App Development”.
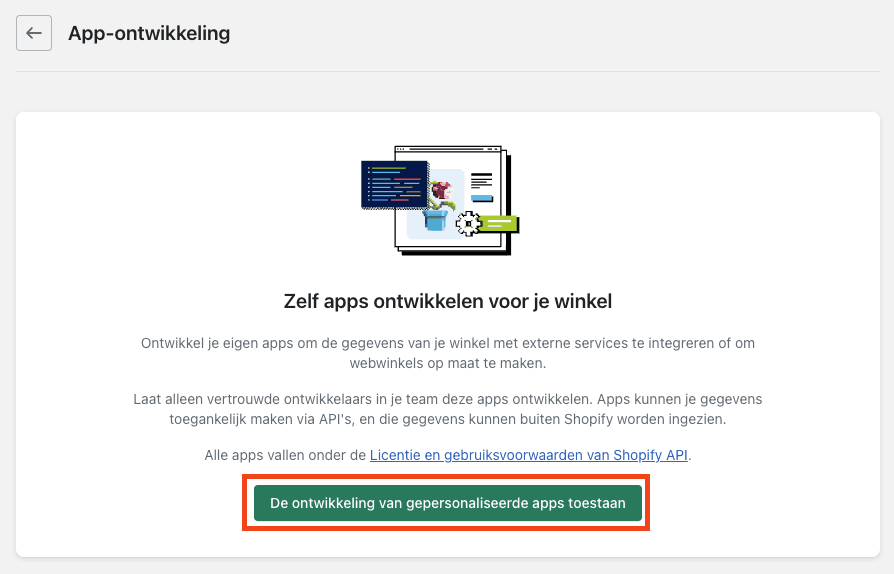
Click again on “Allow Custom App Development”.
Click on “Create an App”.
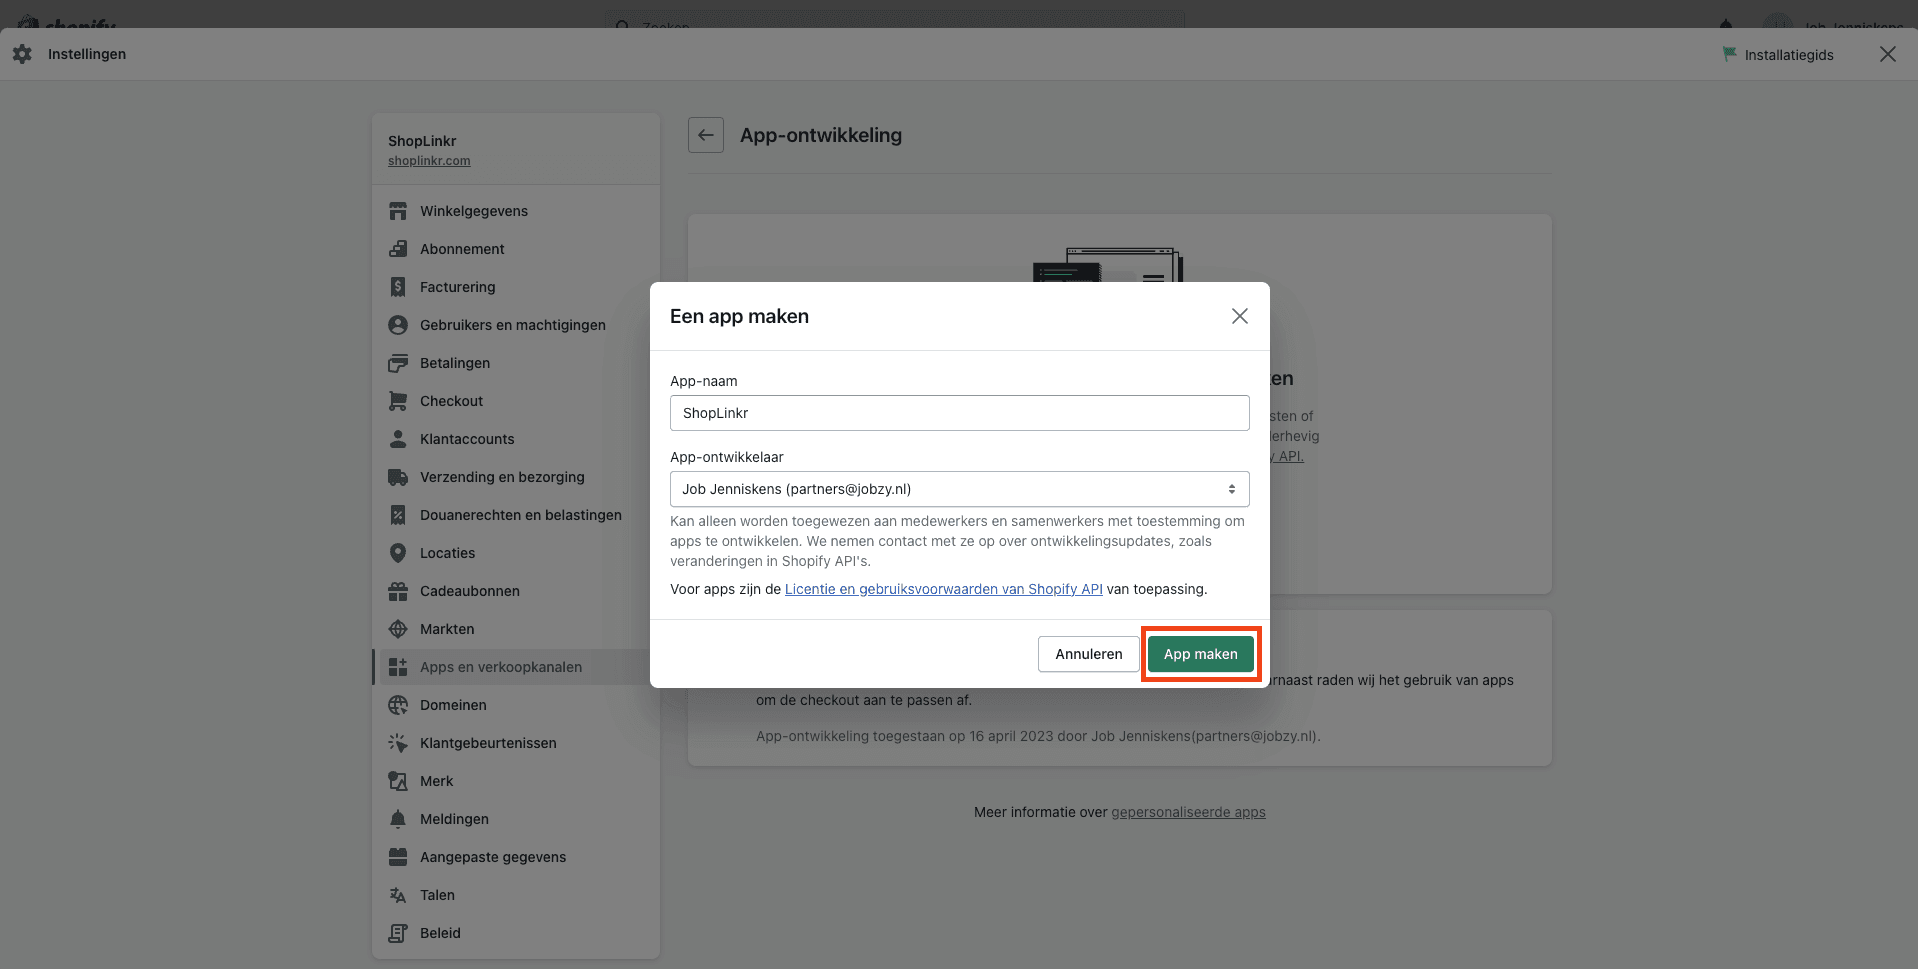
Enter an app name, for example, “ShopLinkr”, and click on “Create App”.
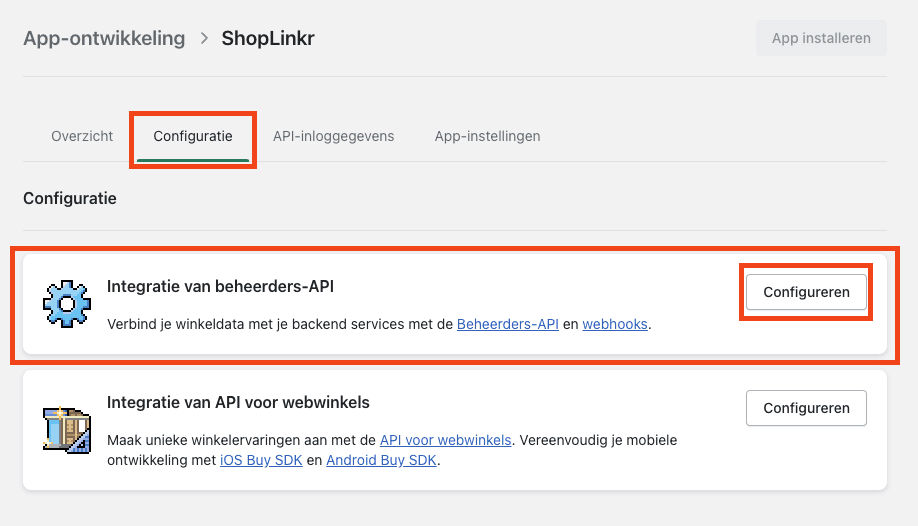
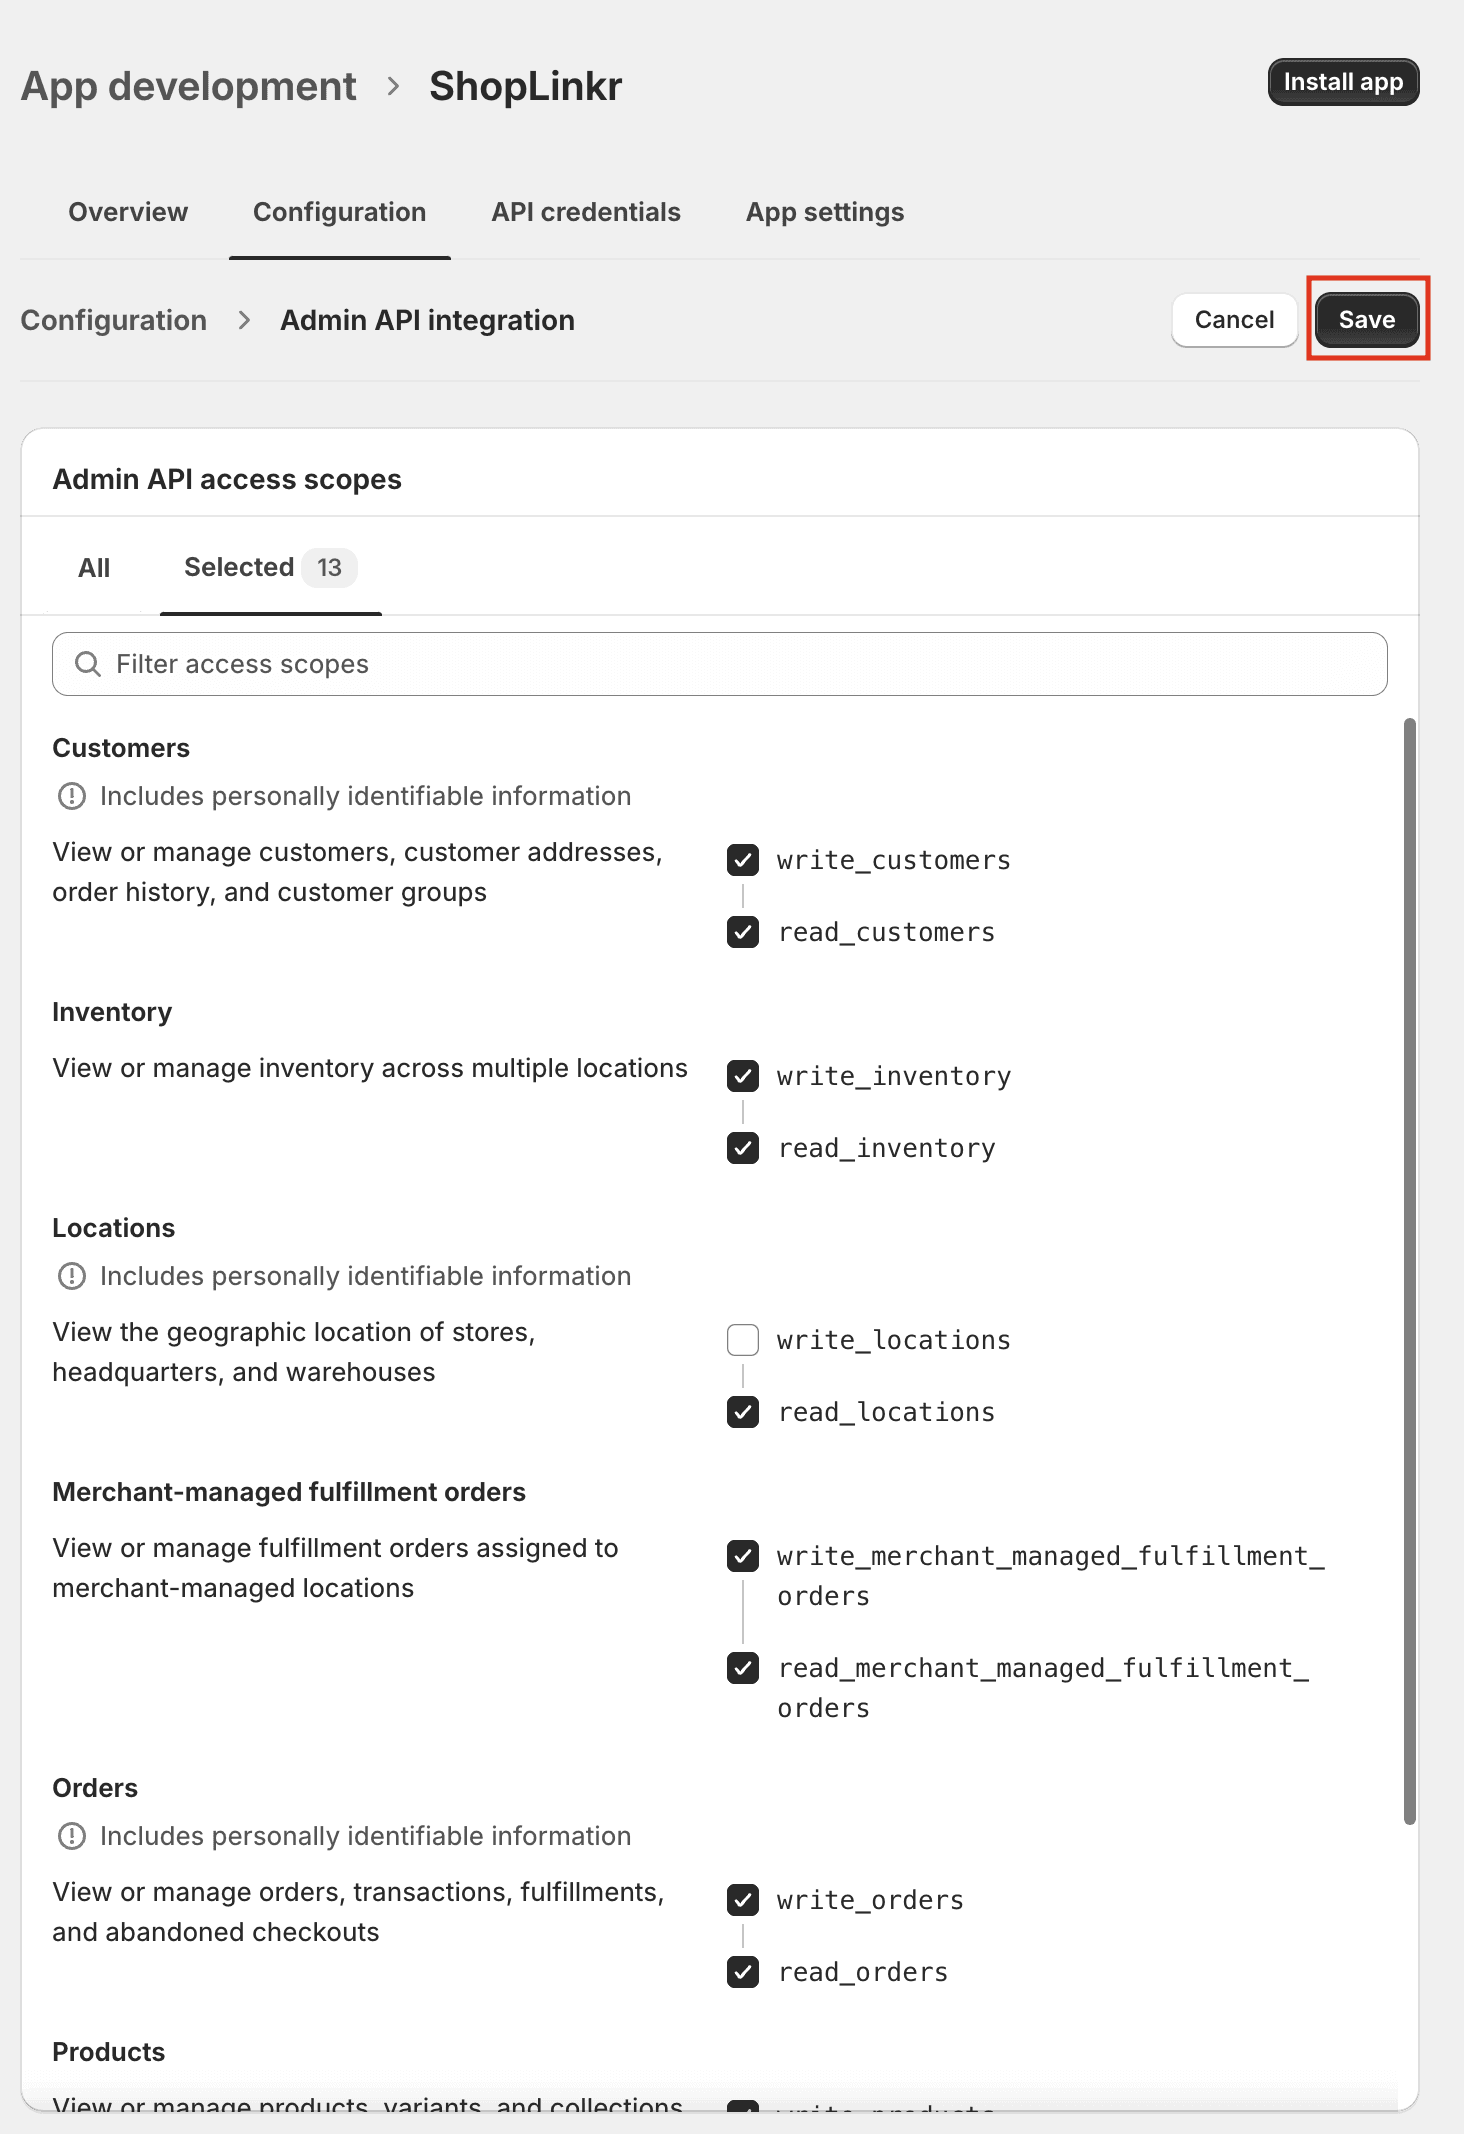
Click on “Configuration” and then on “Configure” under “Admin API Integration”.
Select the following scopes:
write_customers
read_customers
write_inventory
read_inventory
write_merchant_managed_fulfillment_orders
read_merchant_managed_fulfillment_orders
write_orders
read_orders
write_products
read_products
write_returns
read_returns
read_locations

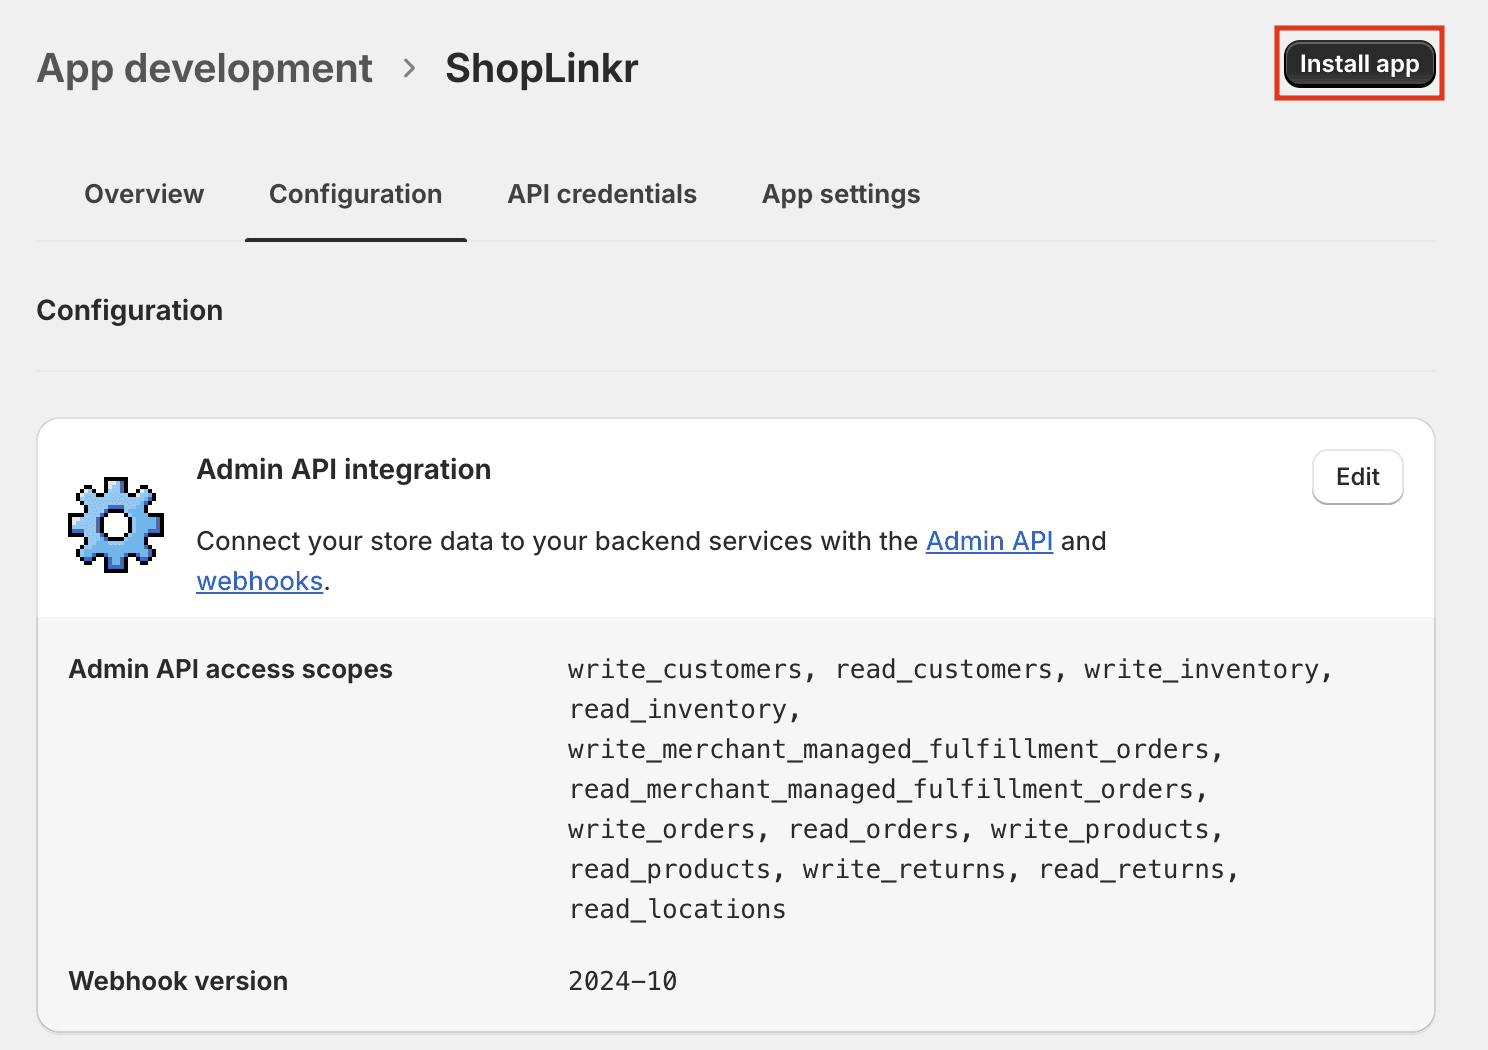
Then click on “Save”.
Click on “Install App” in the top right corner.
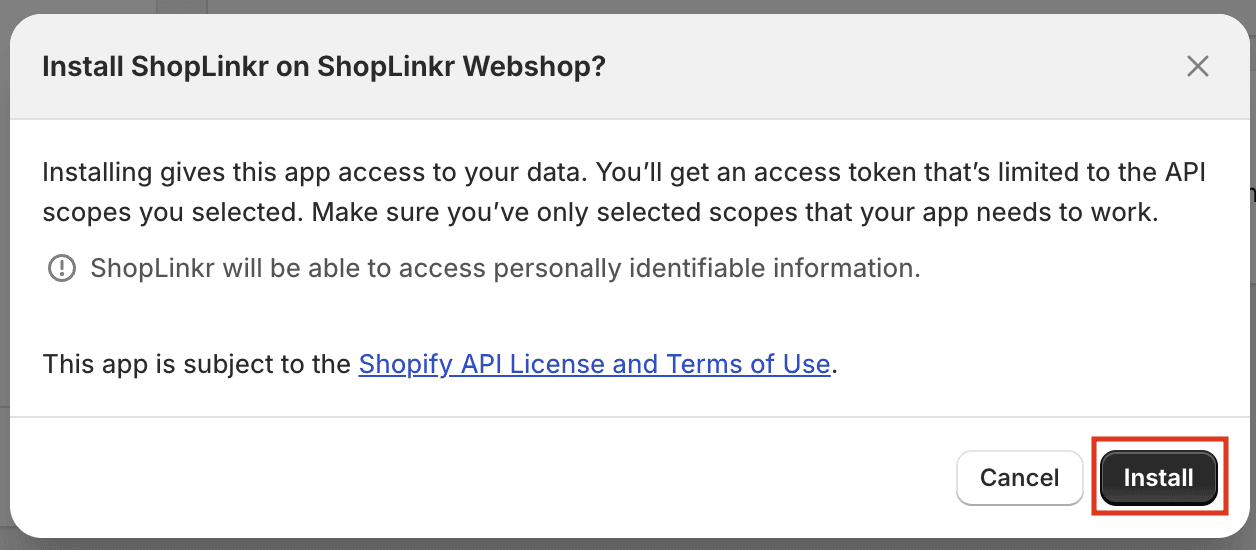
Click on “Install”.
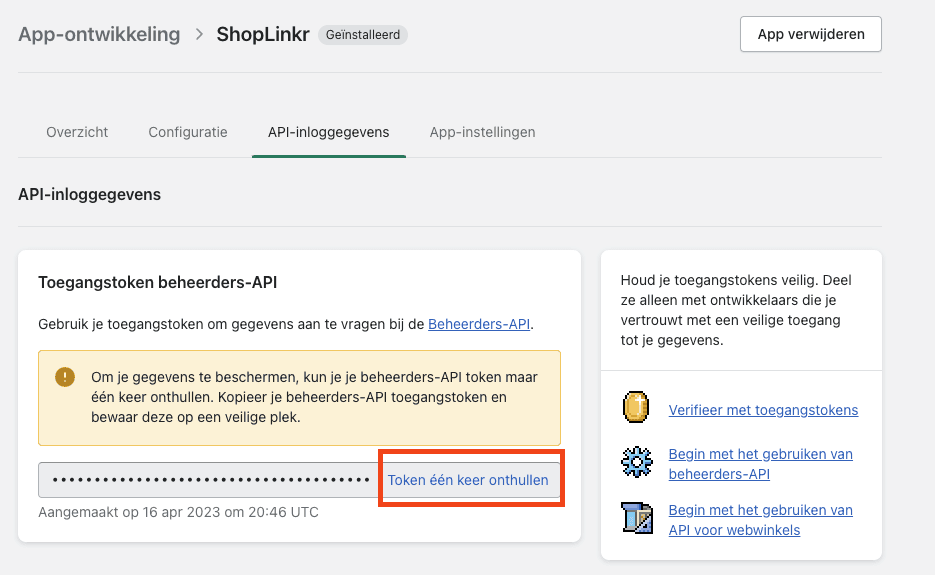
Now click on “Reveal Token Once”. A token will appear, and you must save it securely. You will not be able to view it later, so store it safely!
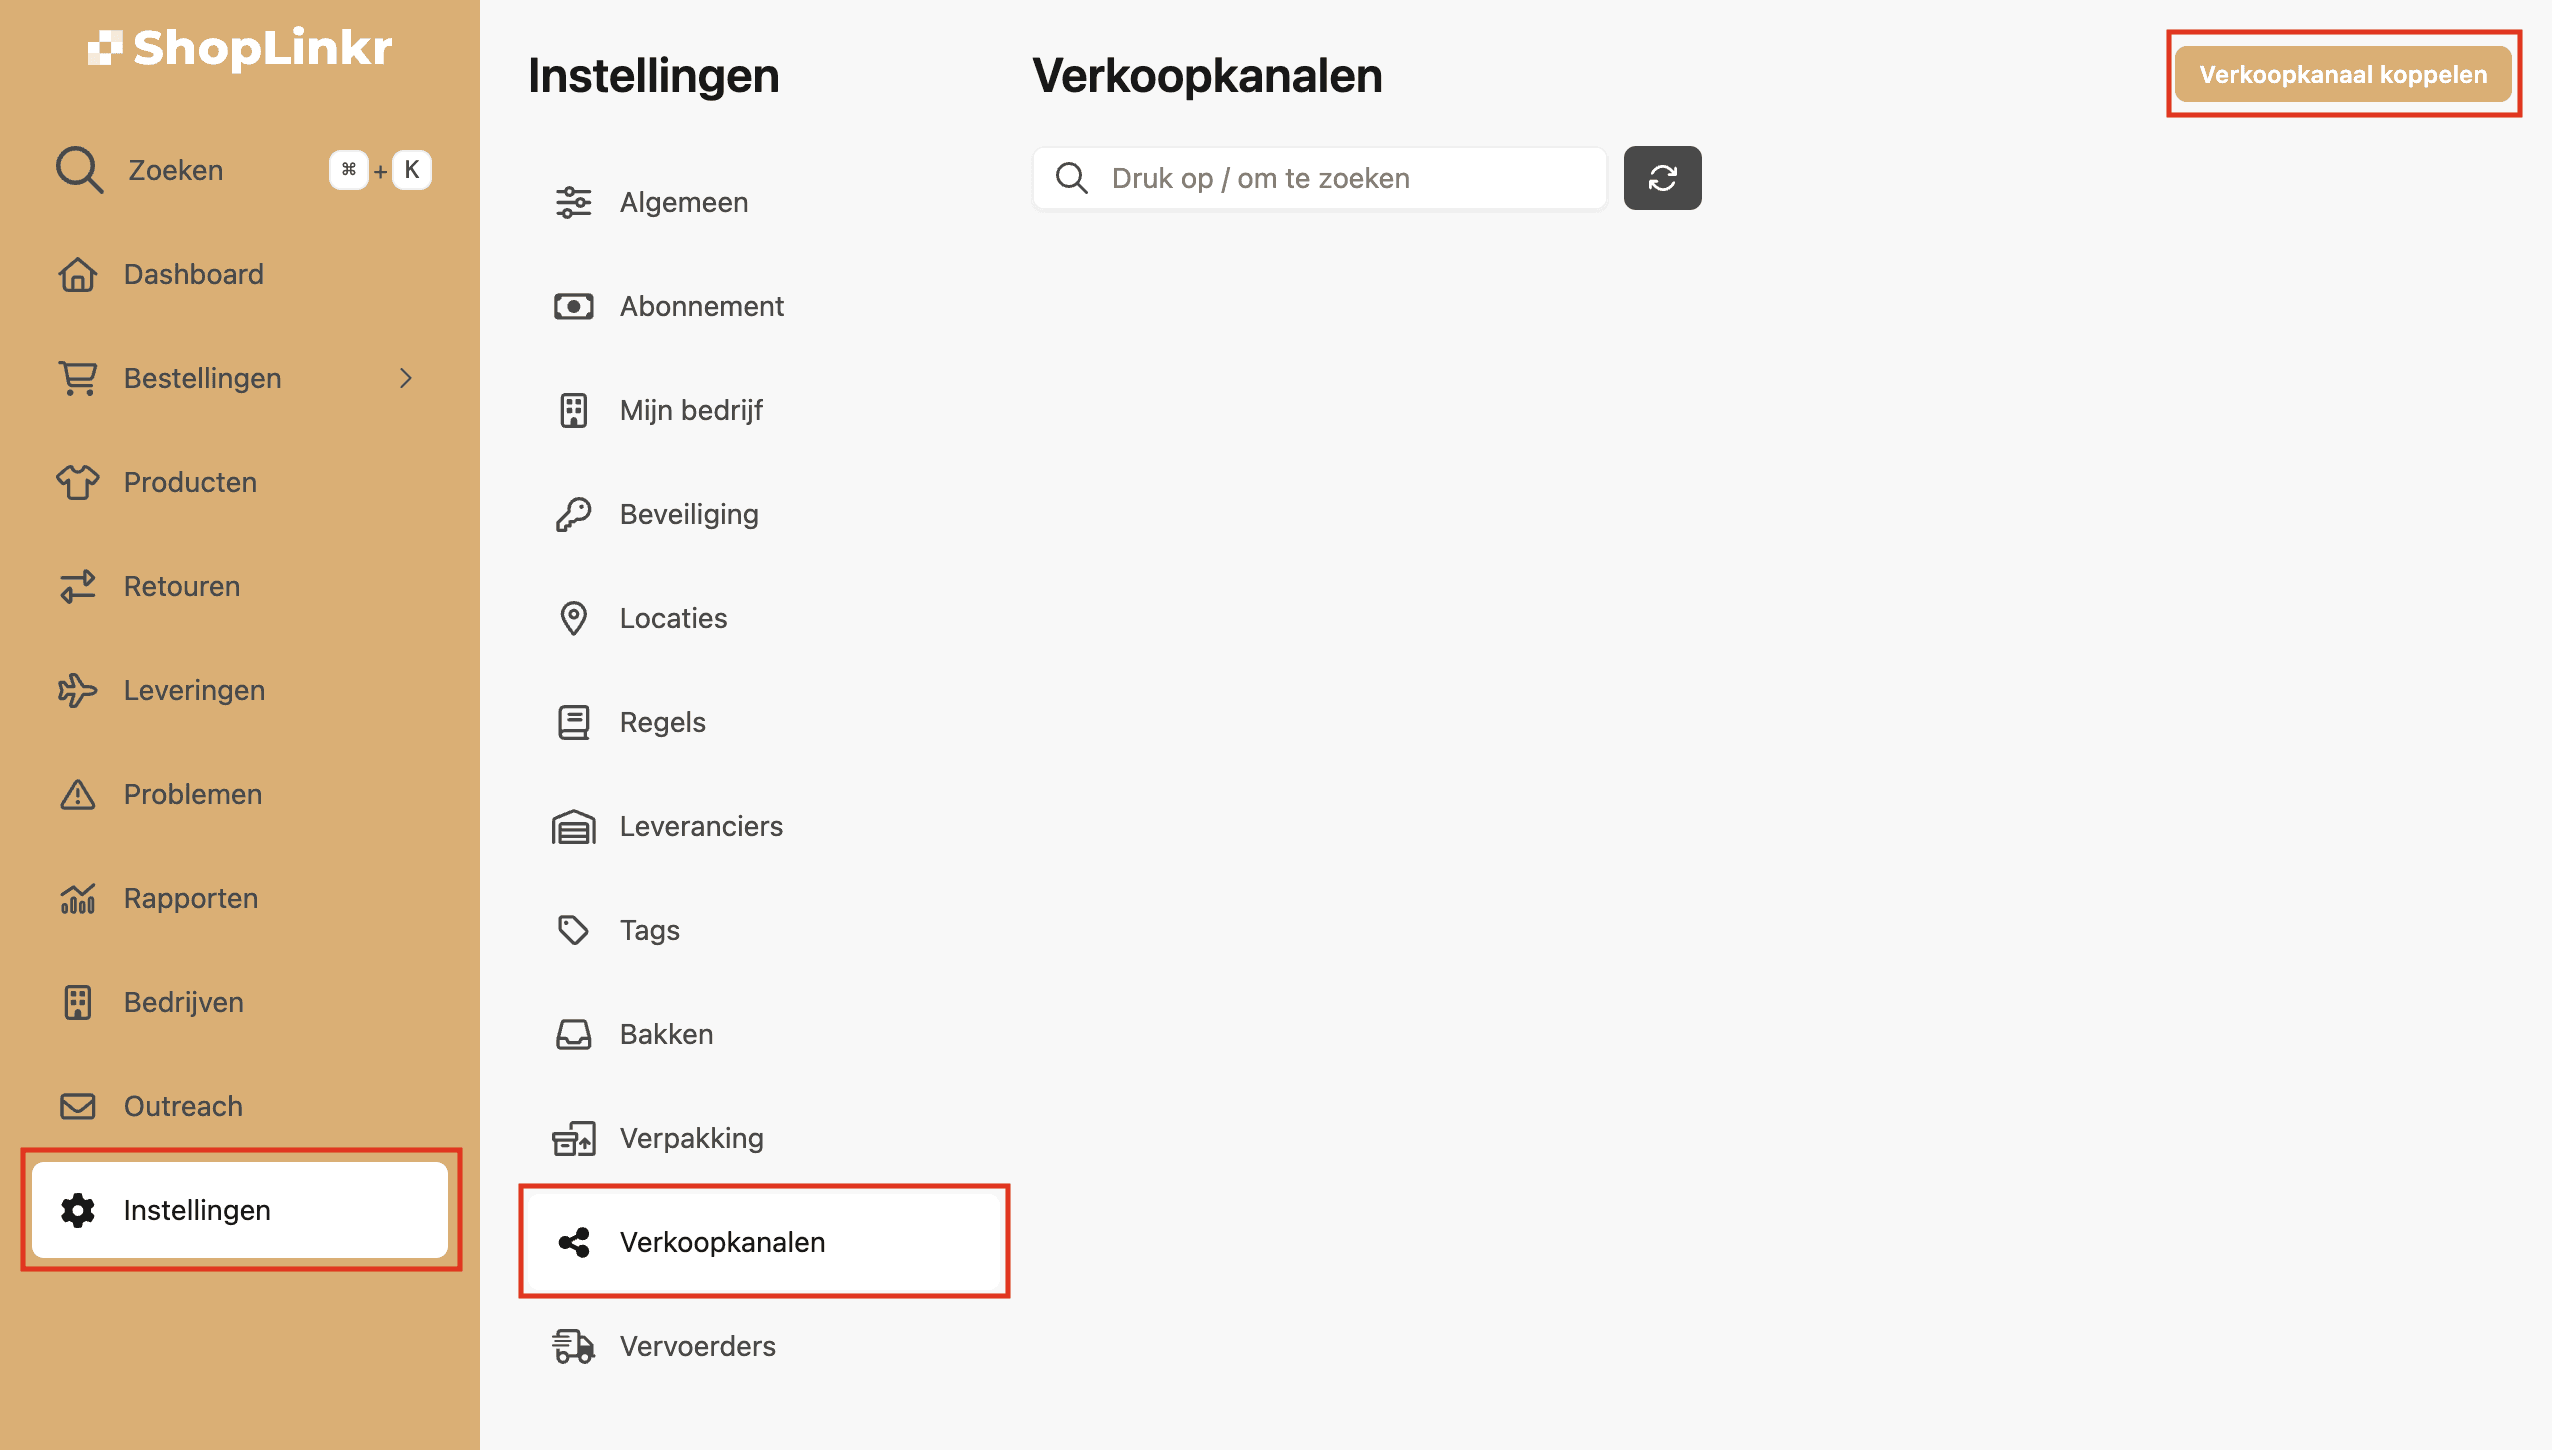
Then go to “Settings” —> “Sales Channels” in ShopLinkr and click on “Connect Sales Channel”.
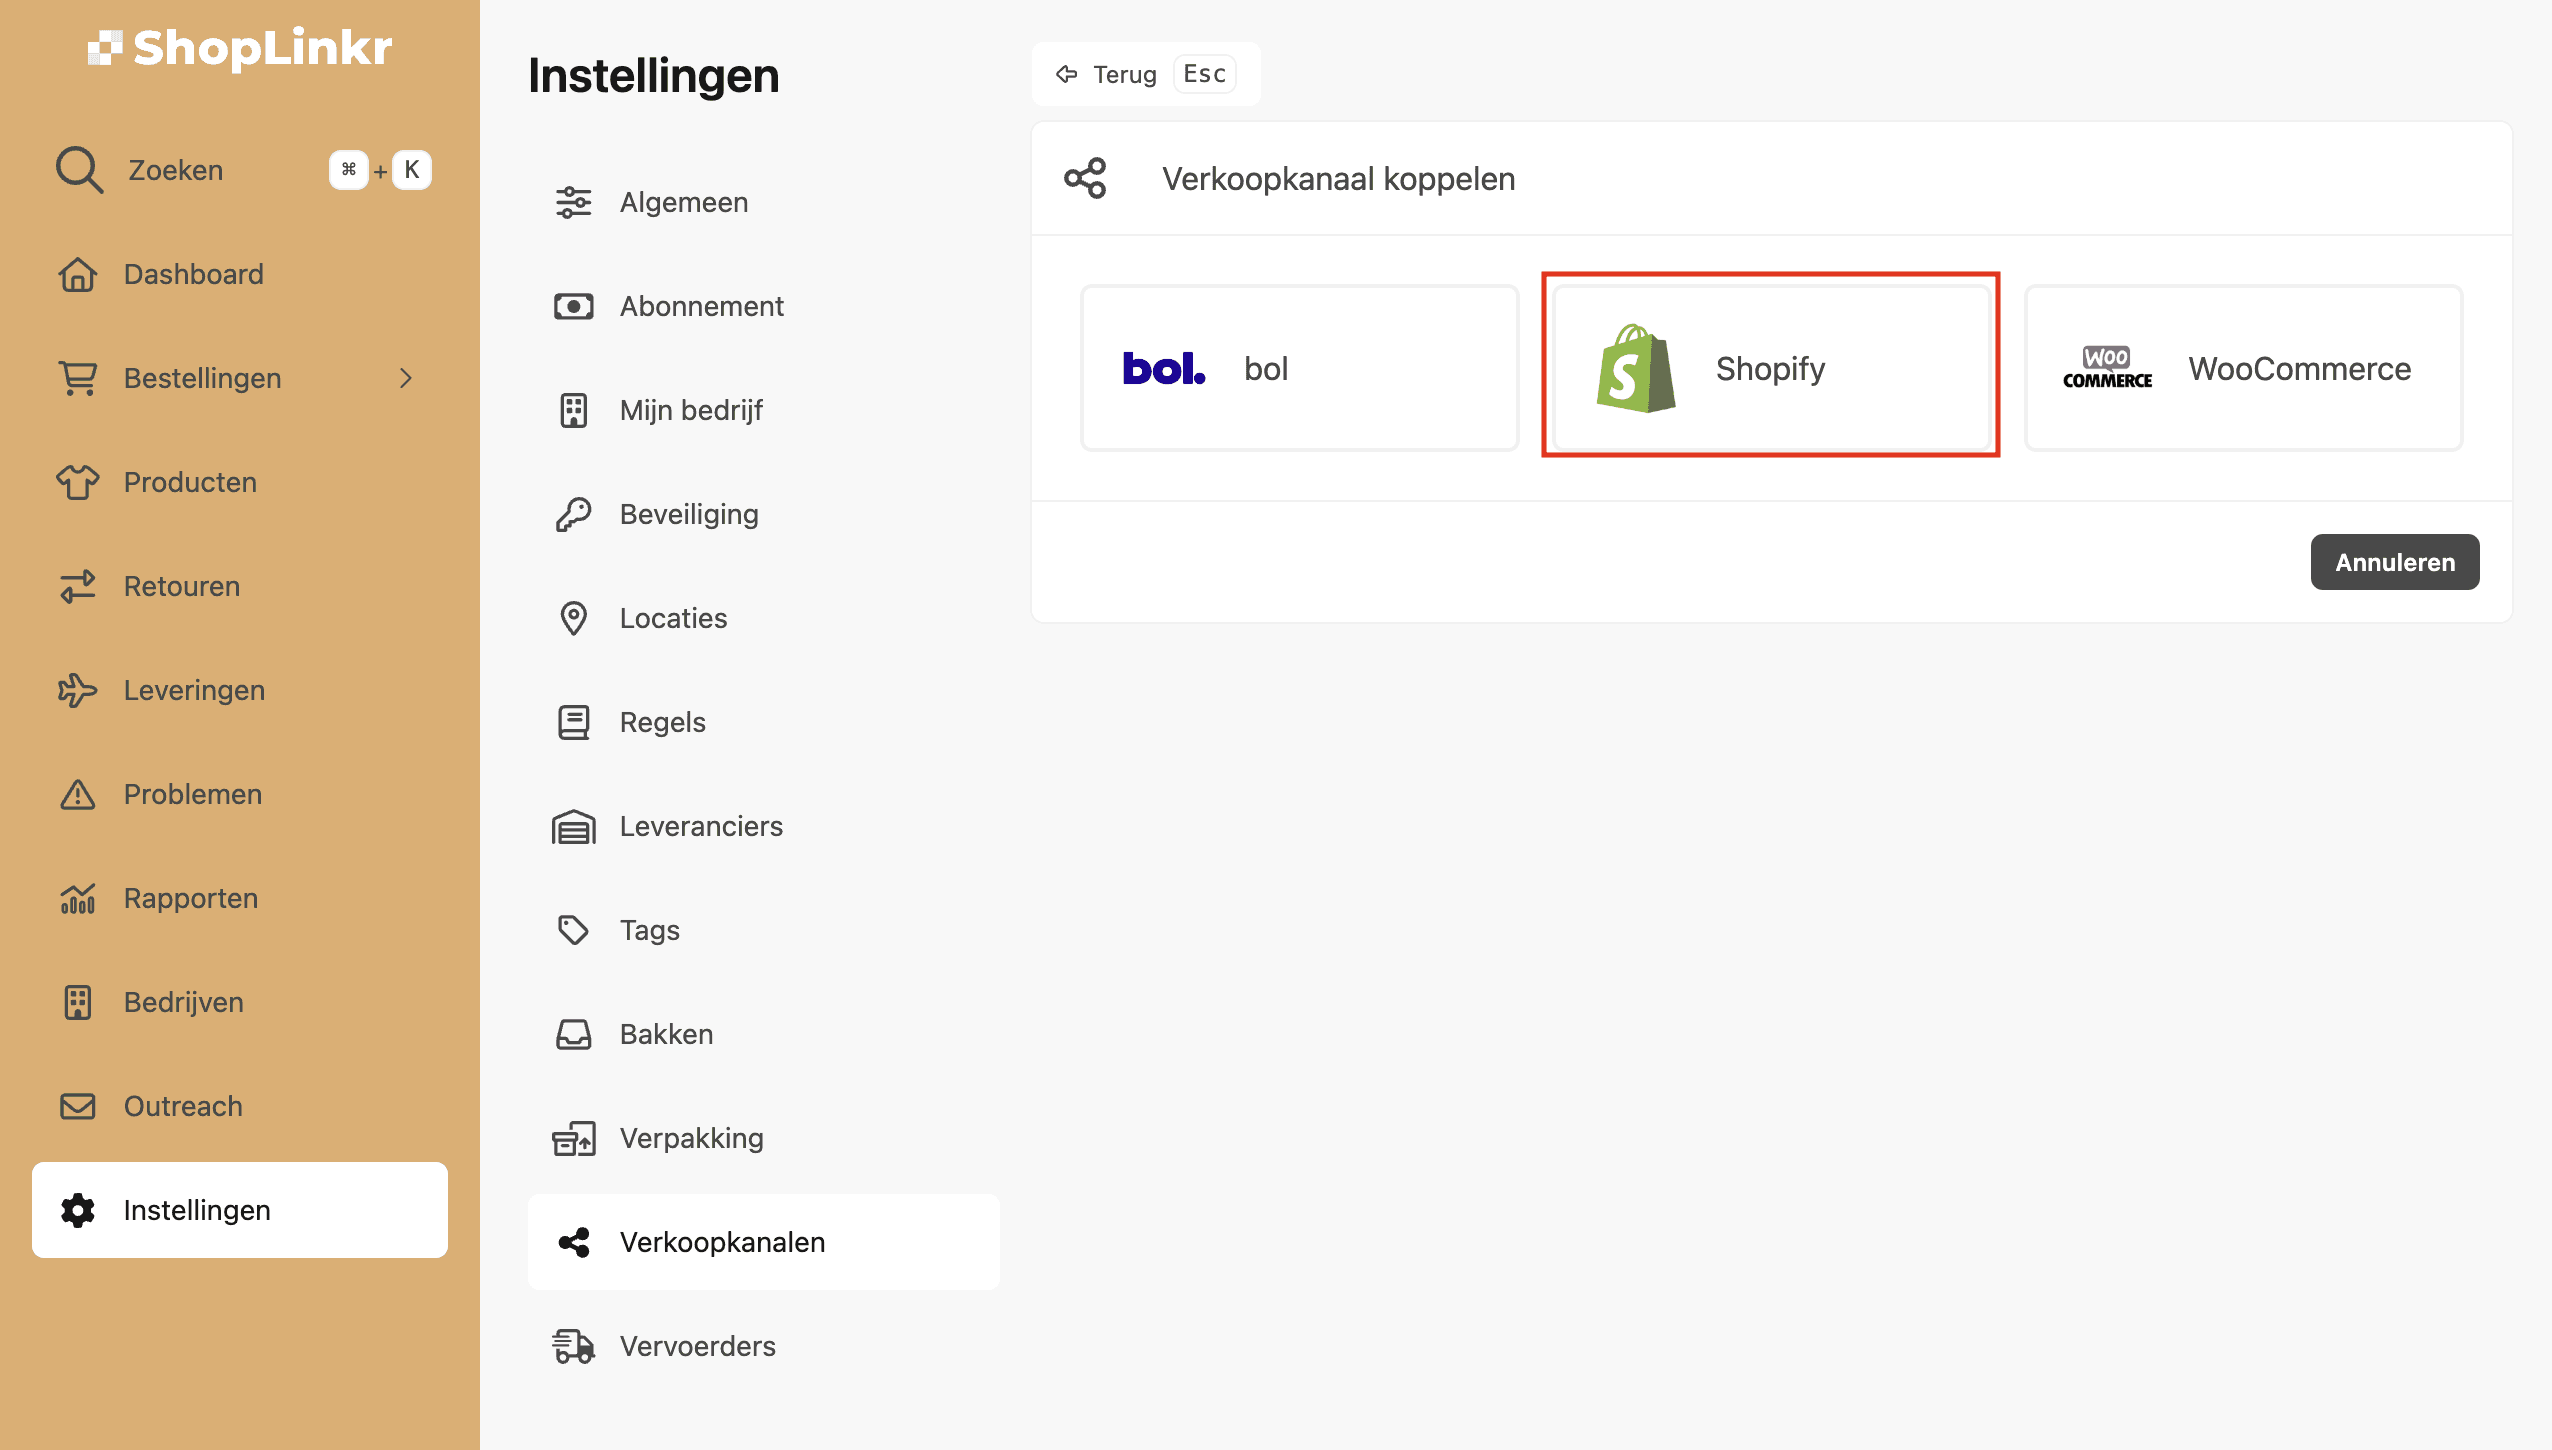
Select “Shopify” as the type.
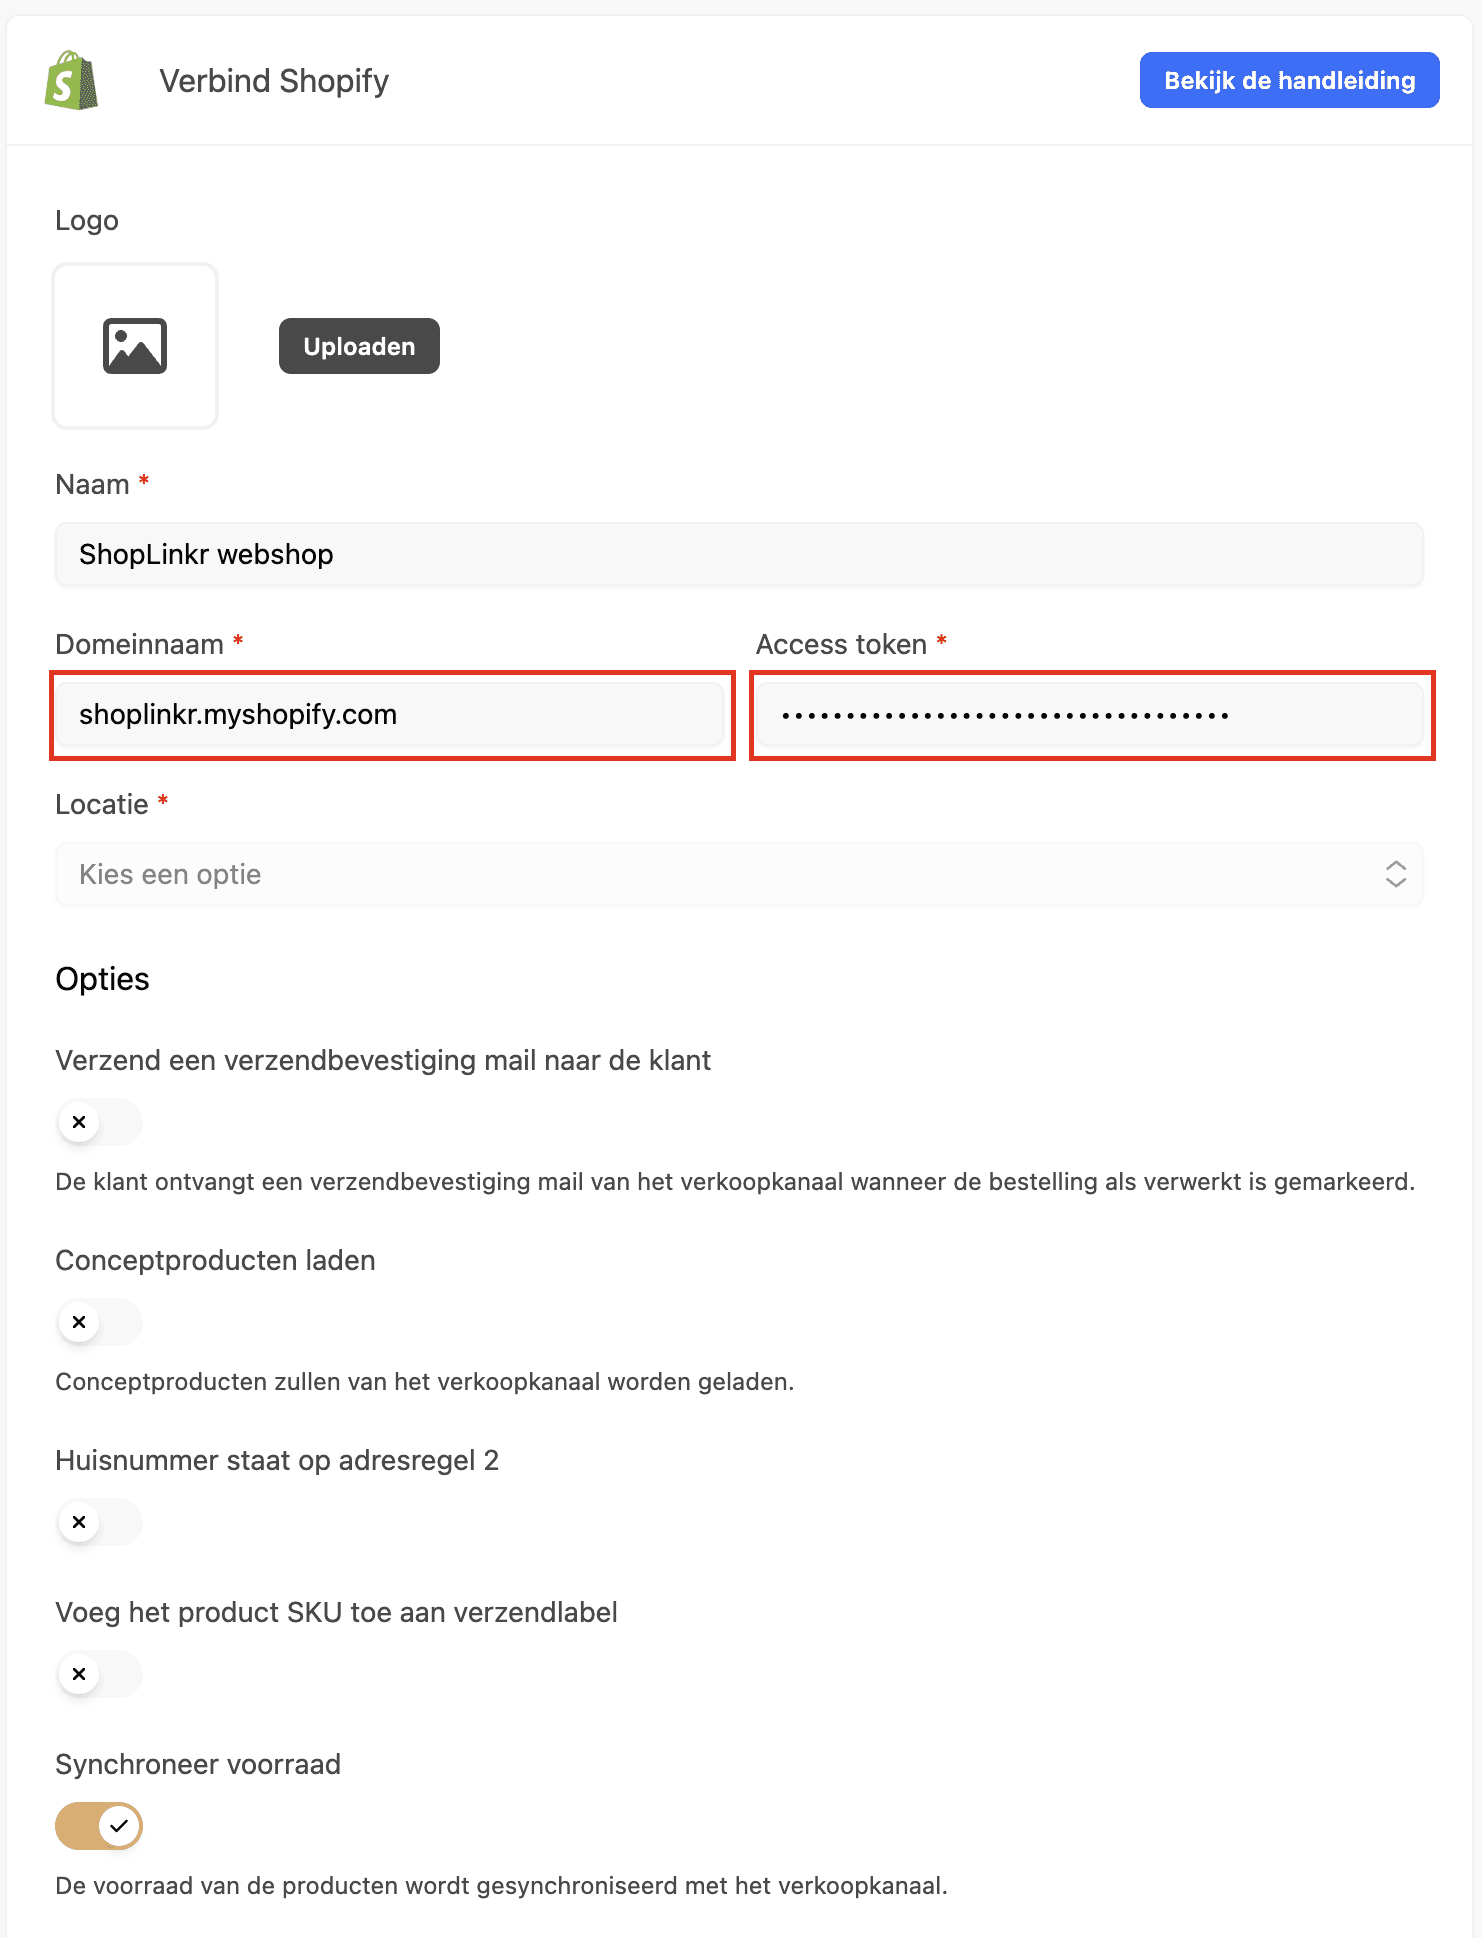
Then enter the “access token” and “domain”. The access token is the “Admin API Access Token” you received from Shopify (you obtained this token in step 12). The domain is the full development domain of Shopify (this often ends with myshopify.com), for example: shoplinkr.myshopify.com.
Select the location where ShopLinkr will execute inventory changes. This is also the location from where orders will be imported into ShopLinkr.
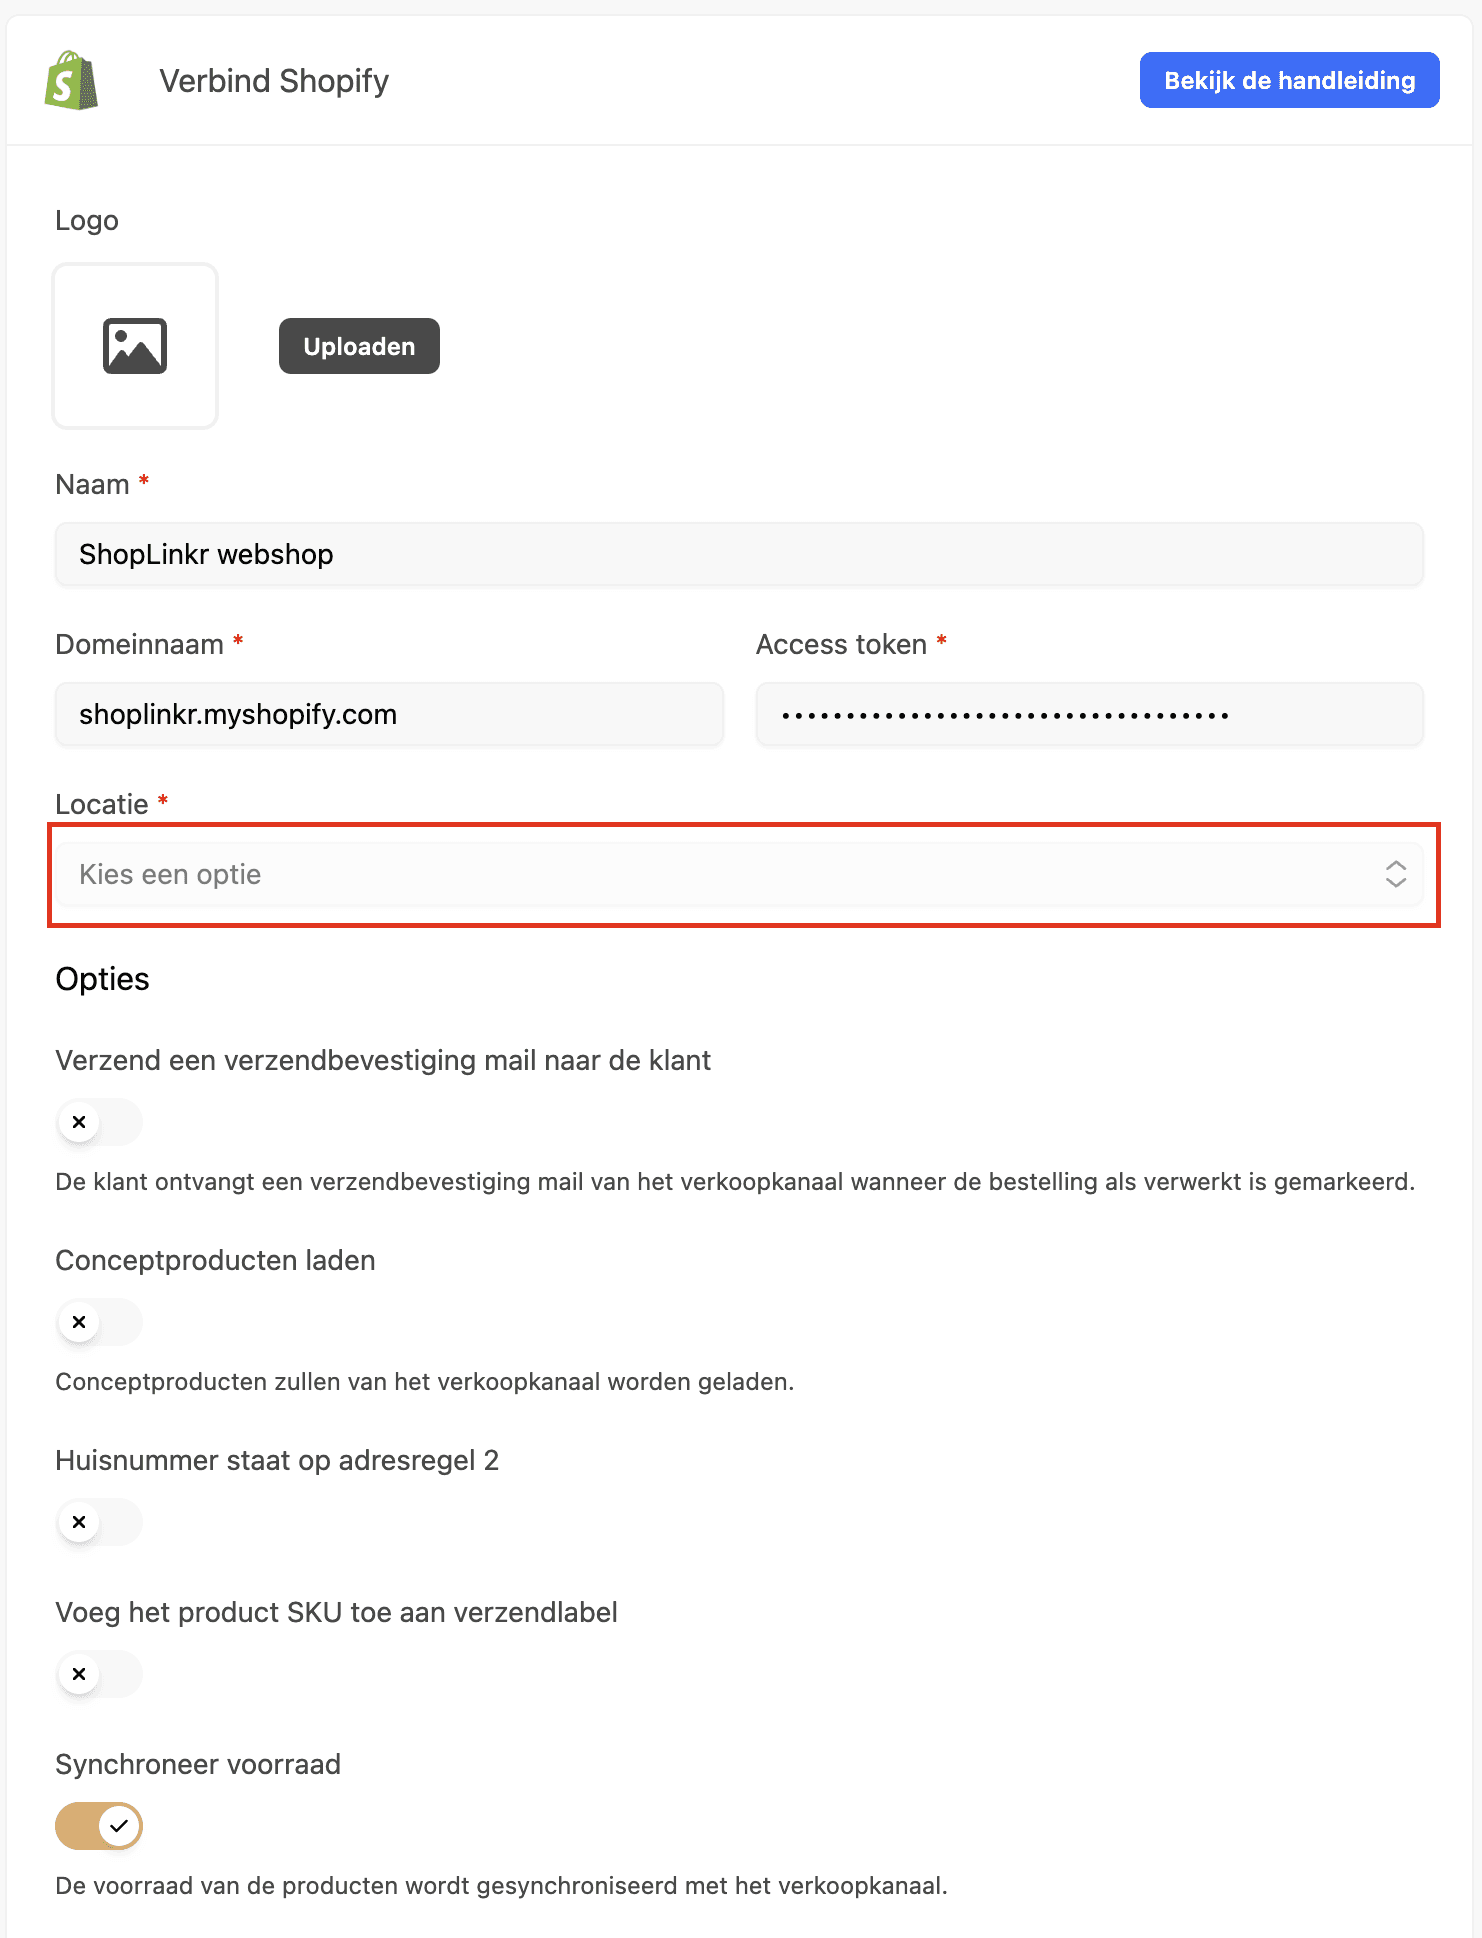
Then click on “Connect”.
All information will be imported, and the inventory will be adjusted to the stock that is in ShopLinkr, provided the product already exists.
From this moment, ShopLinkr is the only place where you need to adjust your inventory from now on.